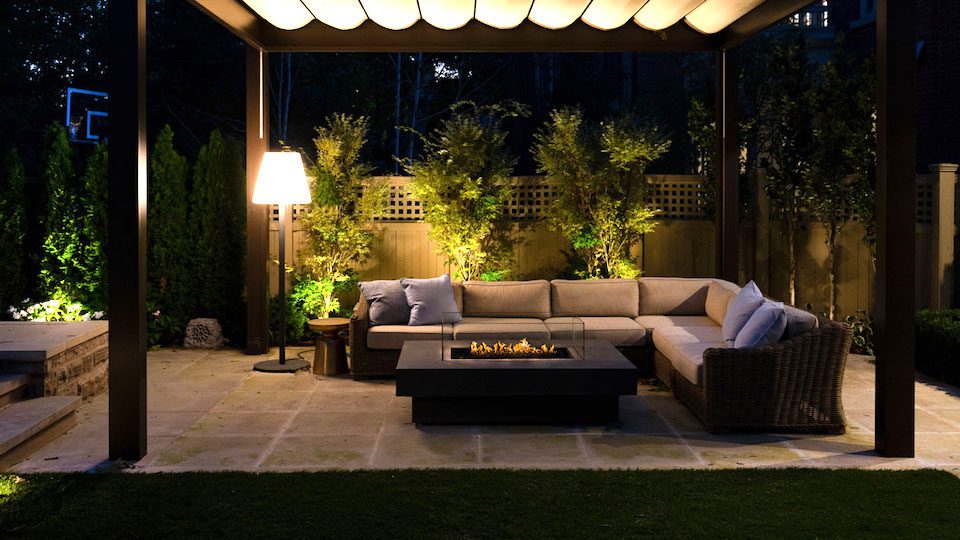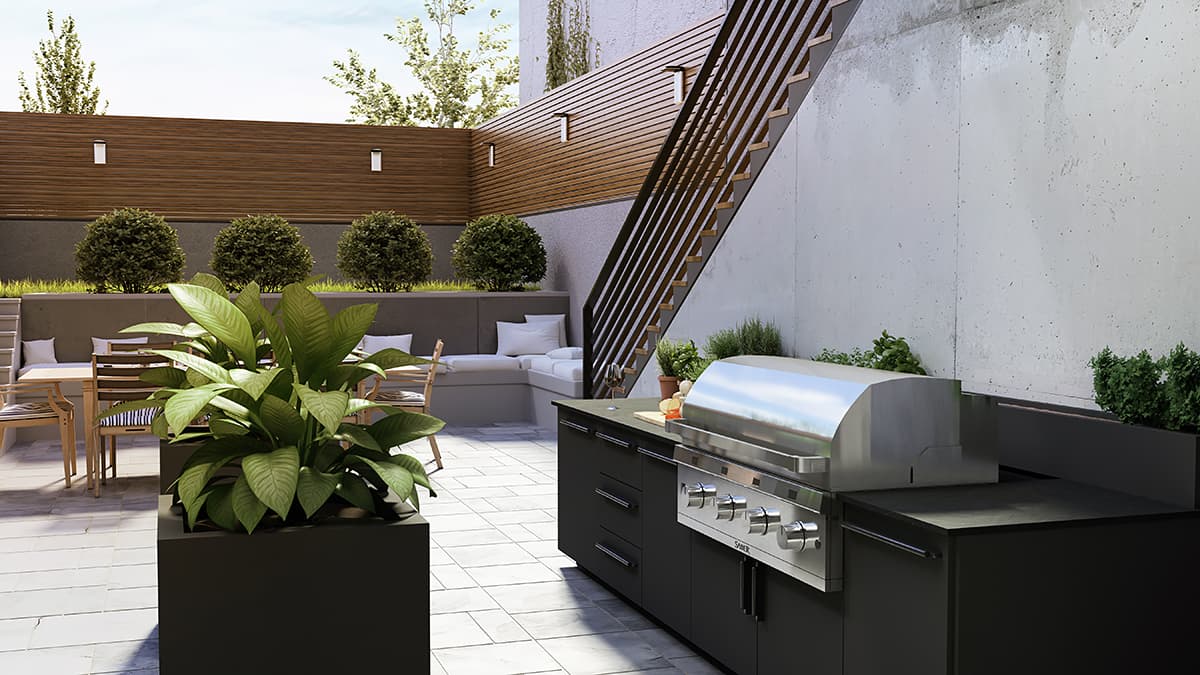
Remember the days when backyard cooking areas were simple and rather boring?
They included little more than a basic grill and a wobbly side table overloaded with meats, condiments, and grilling tools. This may even describe your current outdoor setup.
Times have changed, however, as our backyards continue to evolve as extensions of our interior living spaces.
Outdoor kitchens have become a highly sought-after addition to people’s homes and their owners want a lot more from their investment.
Current outdoor kitchen trends reflect how the concept of backyard cooking has changed radically. Many of today’s outdoor kitchen designs now prioritize functionality, aesthetics, and enough modern amenities to make cooking outside super-convenient.
Why outdoor kitchens aren’t a passing trend
You might think that the surge in the popularity of outdoor kitchens occurred during the pandemic. While the public health crisis significantly increased the demand for them, an ever-increasing number of homeowners have been investing in outdoor kitchen additions and upgrades for quite a while now.
The reason is obvious: there are numerous practical benefits of owning an outdoor kitchen and many of our backyards have the potential for improvement to support our lifestyles more meaningfully. As Outeriors president Daniel Albo told the Toronto Sun, “An outdoor kitchen has become the final frontier of any renovation project.”
Outdoor kitchen and living space upgrades have been one of the hottest home renovation trends every year since 2020. Even as the pandemic fades into the rearview mirror for most of us, there are no signs that this is just a passing trend.
That begs the rhetorical question: if a trend doesn’t end, doesn’t it mean that trendy thing has simply become normalized, accepted, and more widely ingrained into the fabric of our society?
4 revealing outdoor kitchen trend stats
For further evidence of the staying power that outdoor cooking space additions have right now, consider these recent statistics about outdoor kitchen trends:
- 75% of modern homeowners believe their outdoor living space design is as important as their interior design (American Society of Landscape Architects survey)
- most experts assess an outdoor kitchen’s return on investment as excellent (anywhere from 70% to well over 100%)
- 12.5% of home renovation projects involve upgrading or adding an outdoor kitchen (Houzz Outdoor Trends study)
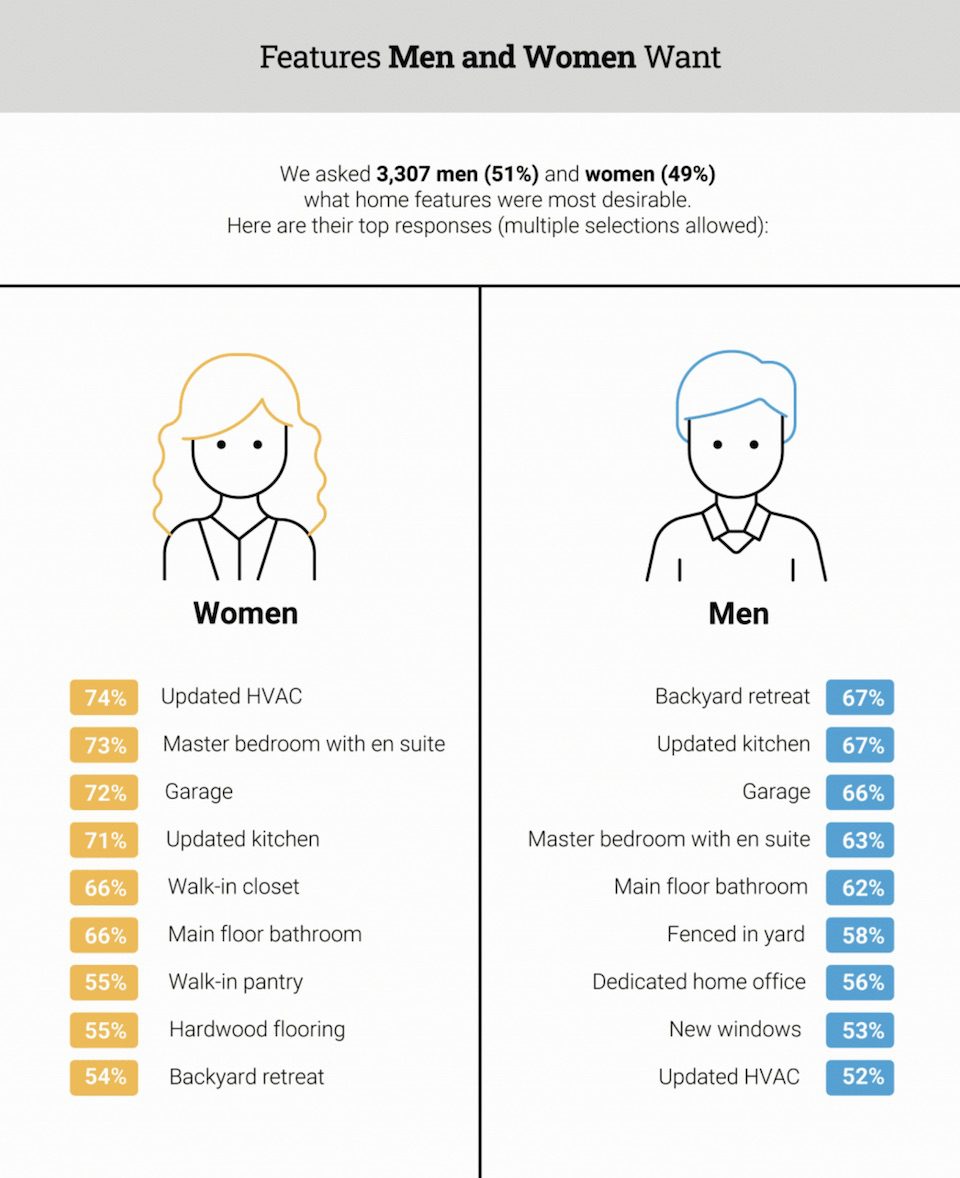
- 51% of realtors believe outdoor improvements to a home make it more appealing to buyers (HomeLight survey)

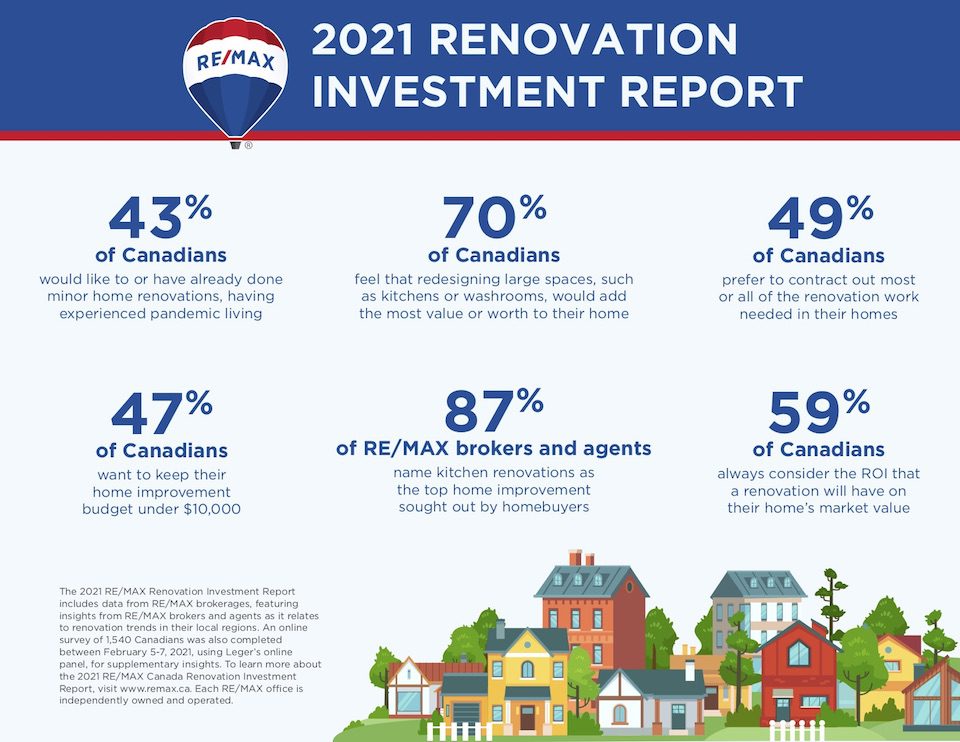
Infographic from Homelight.com
11 outdoor kitchen trends to watch
An outdoor kitchen doesn’t require a lot of room. They typically range from 100 to 400 square feet. A smaller, relatively simple kitchen setup in the corner of a deck or patio can be very functional.
There are numerous ways to reimagine a backyard space by having an outdoor kitchen as the central feature. In fact, there are so many outdoor kitchen products and design options available that it may feel a little overwhelming trying to navigate through all of the choices to consider.
We’ve handpicked some of the most popular and worthwhile outdoor kitchen trends and ideas to consider for your home’s second cooking space.
Find out how to turn your backyard into the hottest restaurant in town with a stylish outdoor kitchen that’s always open for business!
1. Adding more ways to cook outdoors
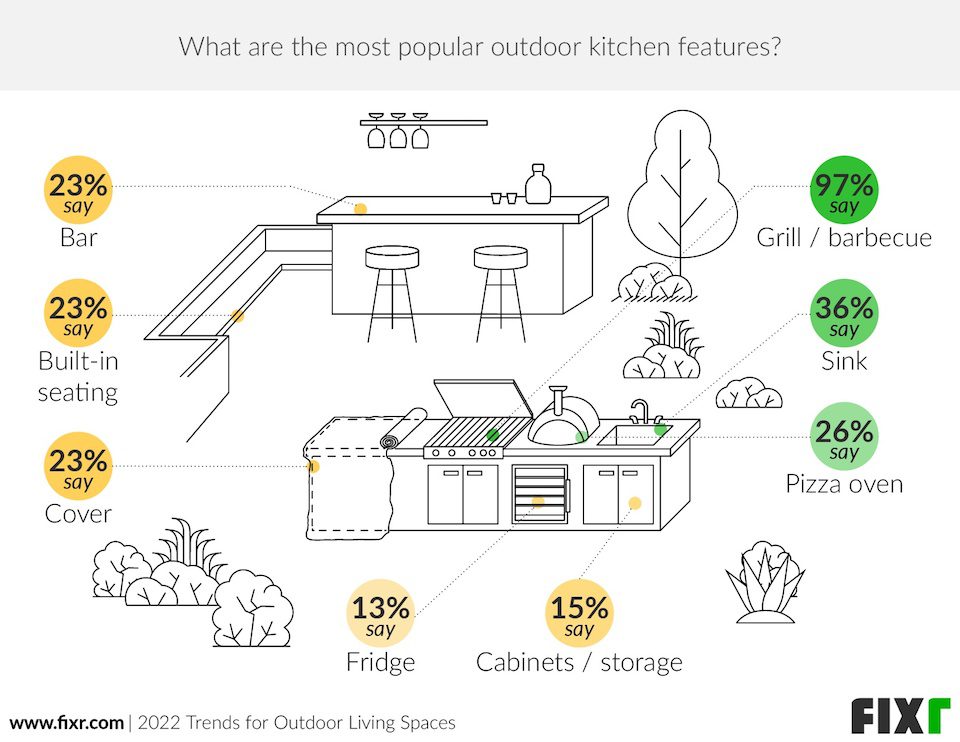
A grill is the most obvious must-have appliance for an outdoor kitchen, but why limit yourself to using such a one-dimensional cooking space? There are a variety of additional appliances available to broaden your outdoor cooking experience.
One of the hottest outdoor kitchen trends is to tailor the space for maximum outdoor cooking versatility. They also allow you to expand your culinary possibilities by trying more recipes that require specific appliances to make.
Some homeowners even give their outdoor kitchen the deluxe treatment and create a fully outfitted cooking space that rivals their indoor kitchen setup.
Outdoor kitchens that provide you with more ways to cook make the food prep and cooking process more convenient and efficient, boosting the space’s overall functionality.
Here are some of the outdoor appliances many of today’s backyard kitchen owners are complementing their main grill with:
- gas-powered and wood-fired pizza ovens
- deep fryers and air fryers
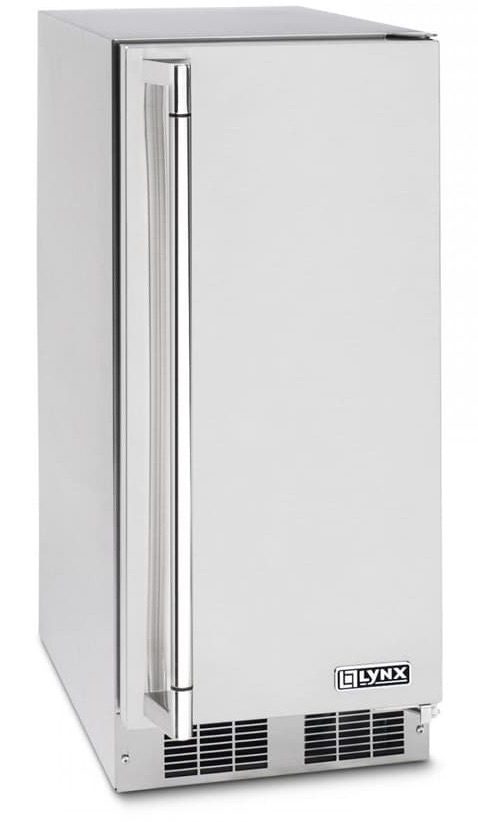
- refrigerators, freezers, and ice machines
- side burners
- flattop grills
- smokers
- warming drawers
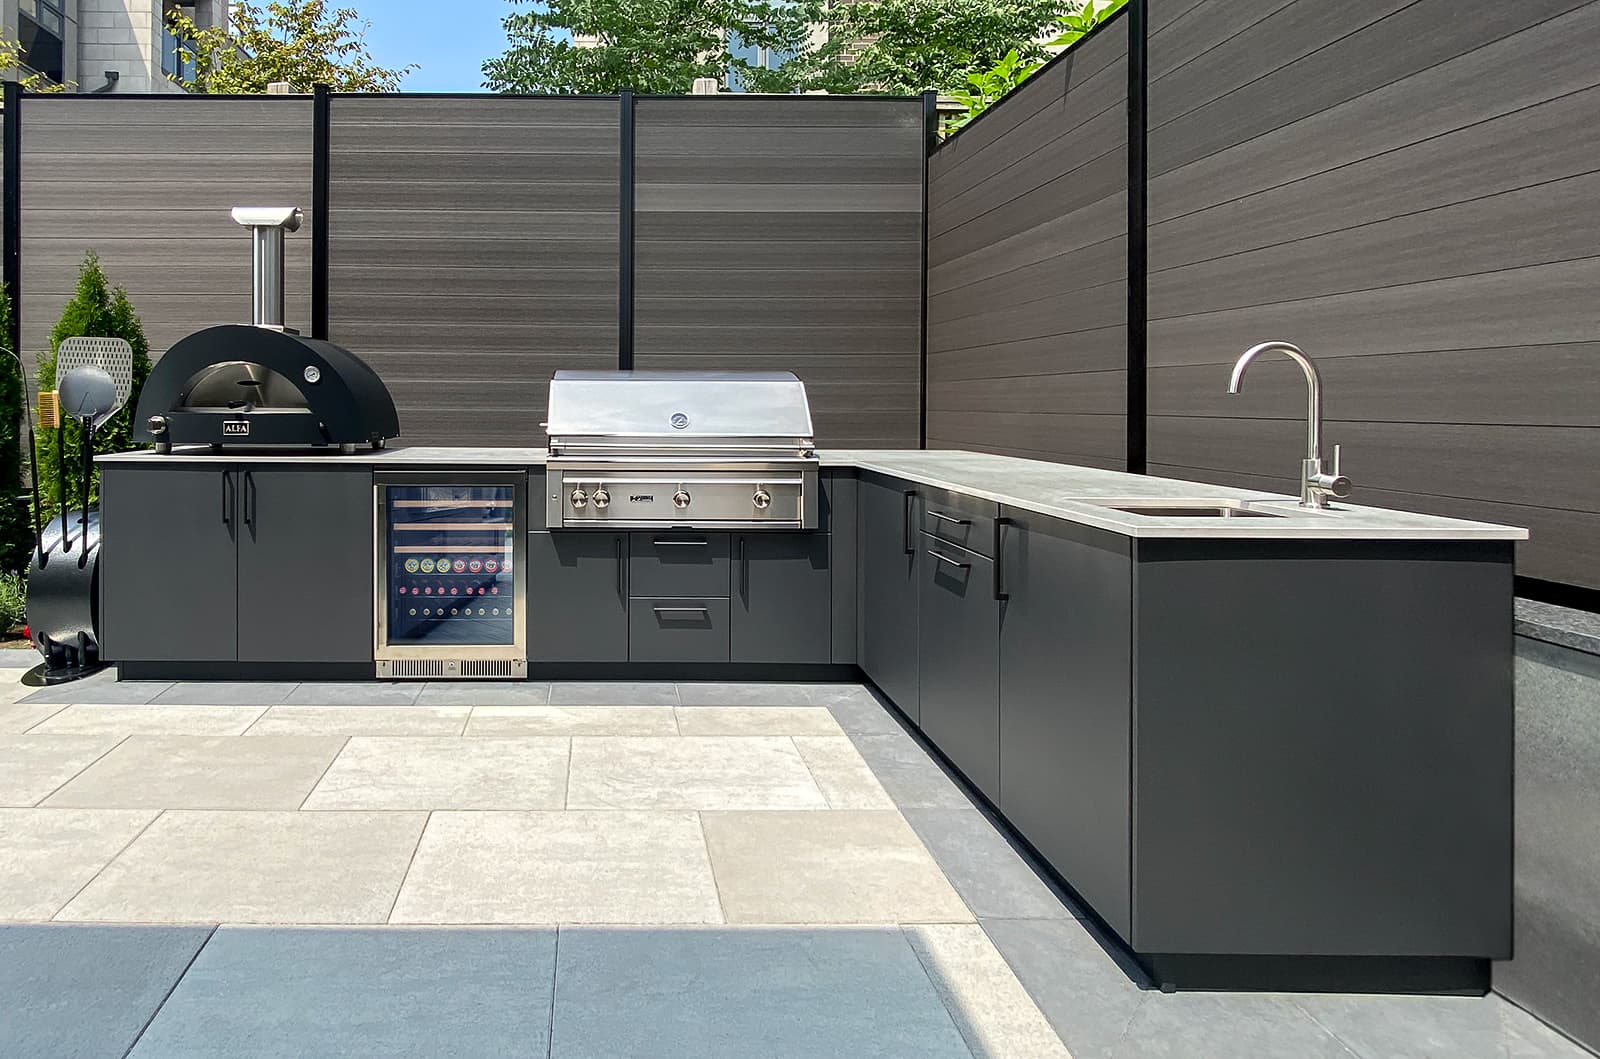
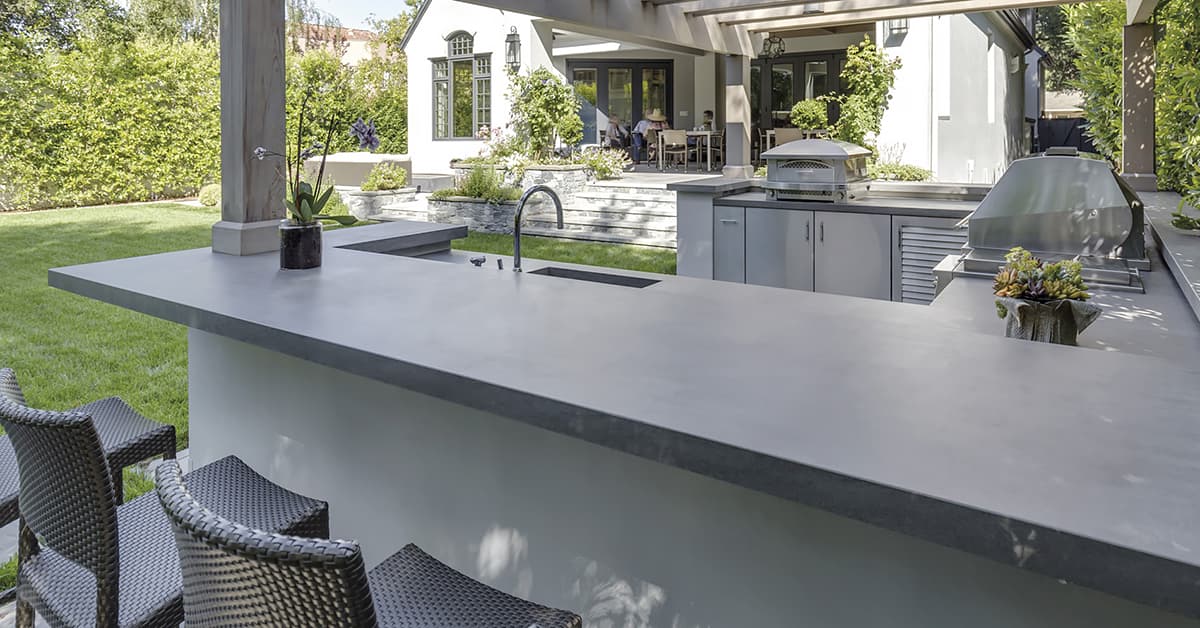
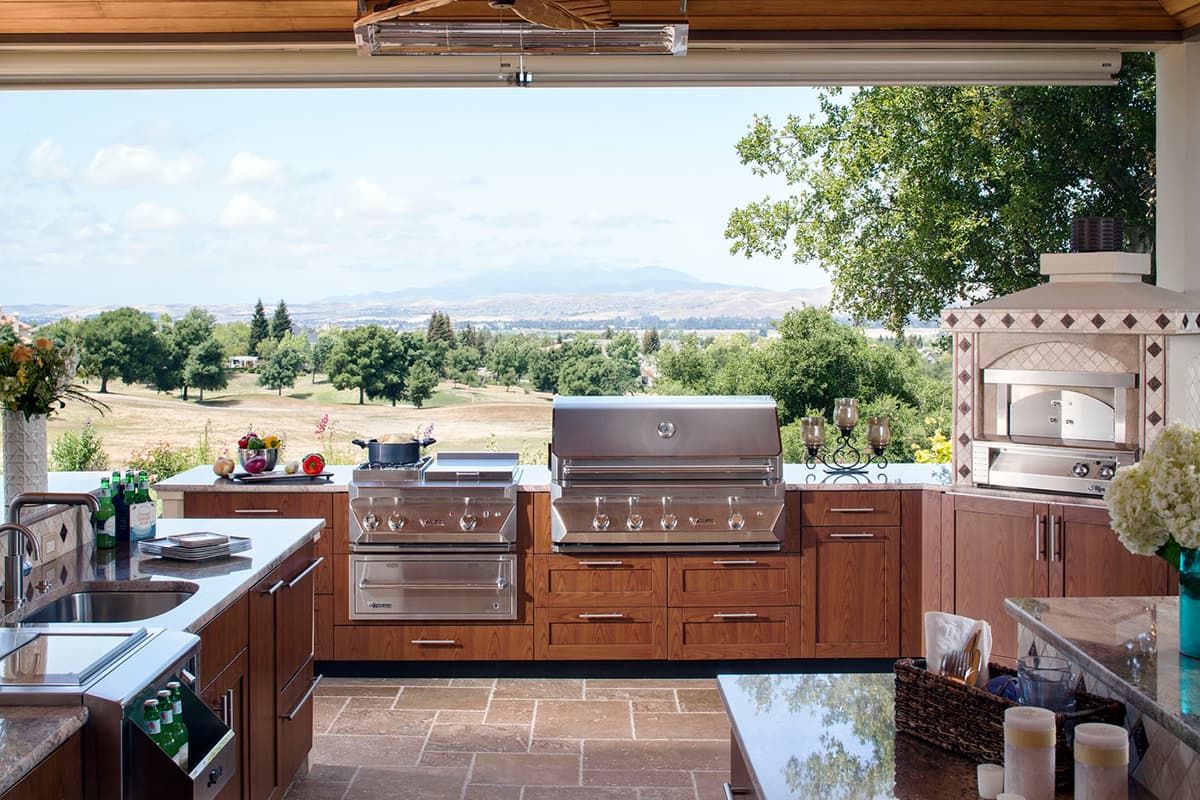
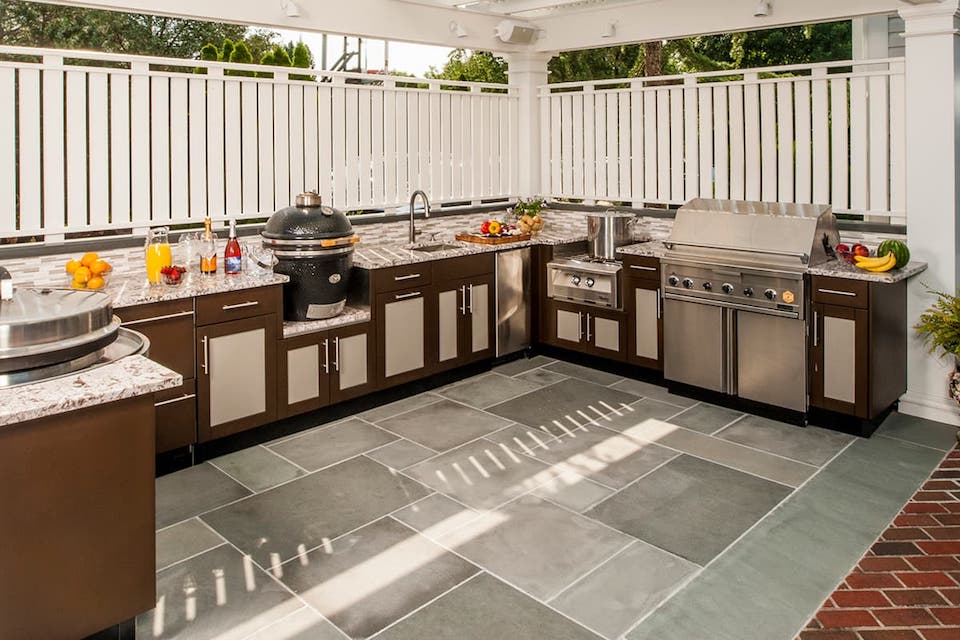
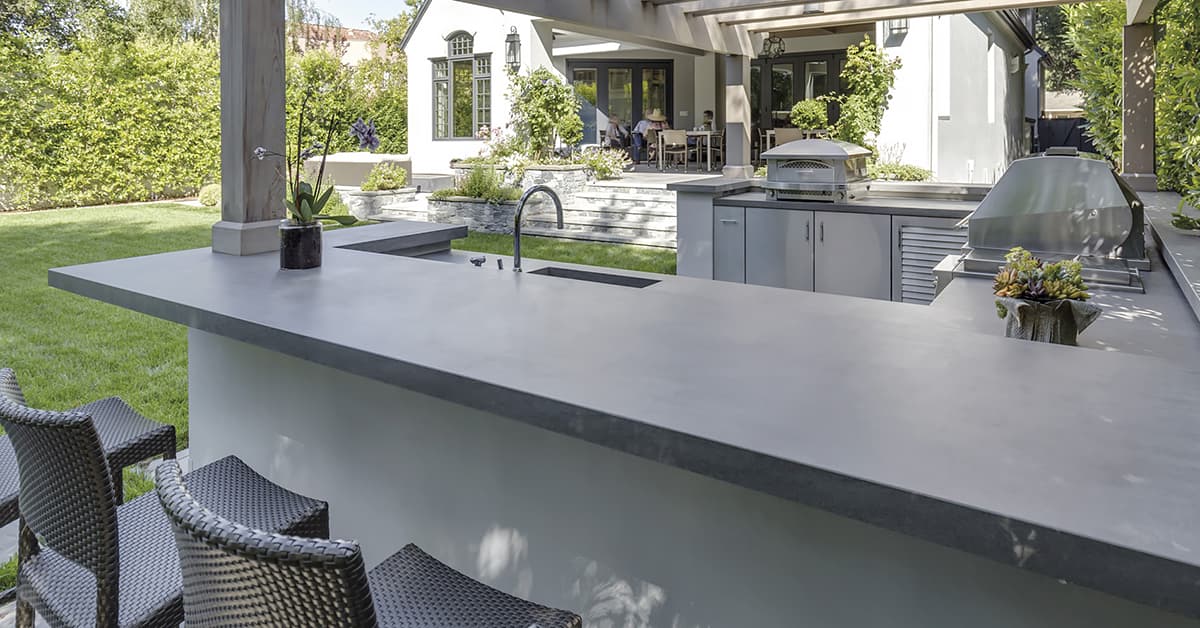
The grill in this outdoor kitchen is complemented with a pizza oven, fridge, and sink.
2. Stylish décor and bold colours
Adding a brand new outdoor kitchen or updating an existing space provides a great design opportunity. Homeowners are getting adventurous with their backyard kitchen designs by incorporating more vibrant colours and stylish décor features.
Outdoor kitchen designs allow for bolder choices that complement the backyard’s natural surroundings and a home’s exterior colours and architectural features, while adding personality. A recent Outdoor Living Report from Brown Jordan Outdoor Kitchens found that 77% of those surveyed welcomed the opportunity to use less traditional design options for their outdoor kitchen renovation.
69% see outdoor kitchens as an opportunity for different colour selections compared with their interiors, and 77% embrace the opportunity to depart from more traditional options for their outdoor design.
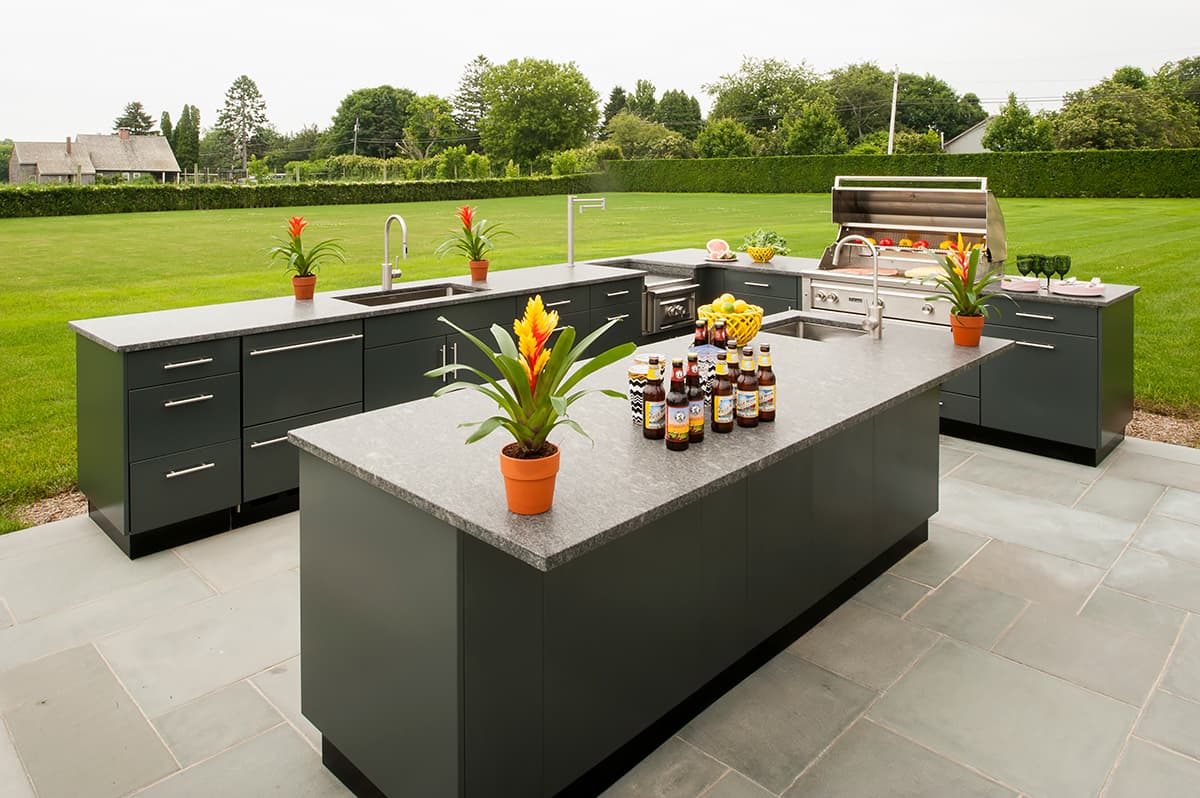
One way to introduce colour and stylish flair is through eye-catching tile backsplashes, featuring bright patterns or earthy tones for a Mediterranean or modern look. Bold cabinetry colours like navy blue and emerald green can make a striking statement, as can more understated designer colours like graphite gray and sandstone beige.
Built-in appliances like a grill, fridge, side burners, and warming drawers can be customized with bold accent colours. Manufacturers like Hestan offer this option to depart from the black and stainless steel appearance outdoor appliances traditionally have by adding some brighter colours to create a unique look.
Here are some more ways to style up an outdoor kitchen space and any surrounding dining and lounging areas:
- add decorative outdoor rugs
- change the cushions on outdoor furniture and use colourful fabrics
- hang outdoor wall art
- update your outdoor lighting to boost the backyard ambiance
- decorate with foliage and stylish planters
3. Outdoor kitchens with luxury appeal
For those with a taste for high-end home décor, outdoor kitchen designs with luxury touches have become more popular.
These sophisticated and contemporary exterior extensions of the living space can look even more impressive than the high level of functionality they provide.
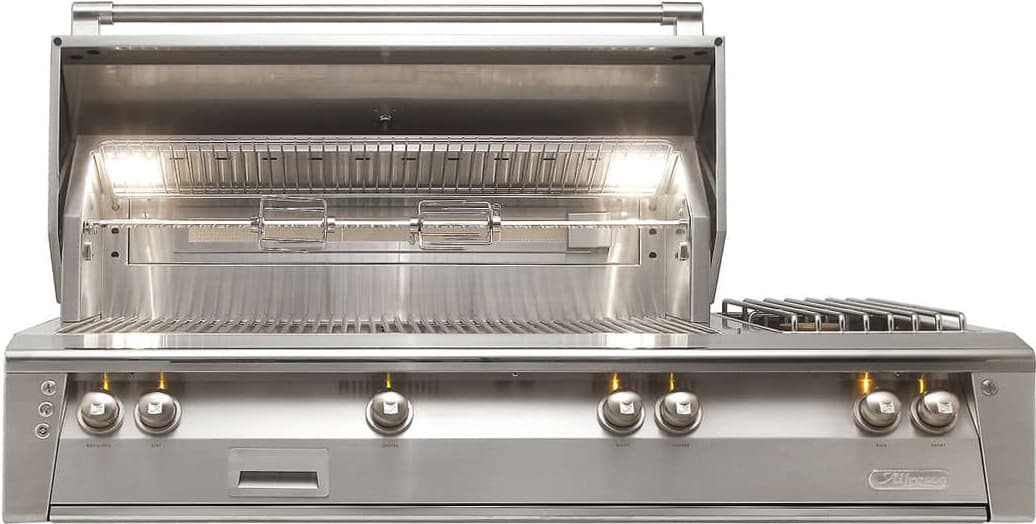
To make this happen, it’s essential to get high-end, professional-grade appliances. You can’t add the “luxury” tag to an outdoor kitchen without buying a premium grill. They’re not cheap, but luxury grills are worth the extra expense for many reasons:
- premium grills look great
- they’re built to last
- using a luxury grill is safer and more reliable
- high-end grills perform better
- they come with more options and convenient features
An outdoor kitchen’s aesthetic is largely shaped by the cabinets installed in it, which is a huge consideration if you want the space to have an upscale appearance. The configuration, material, colours, finish, and style of the cabinets can be carefully chosen and customized to achieve a luxurious look. The Alumina Architectural Surfaces line of cabinets offers a cutting-edge design that sets a new standard for architectural beauty in outdoor kitchens.
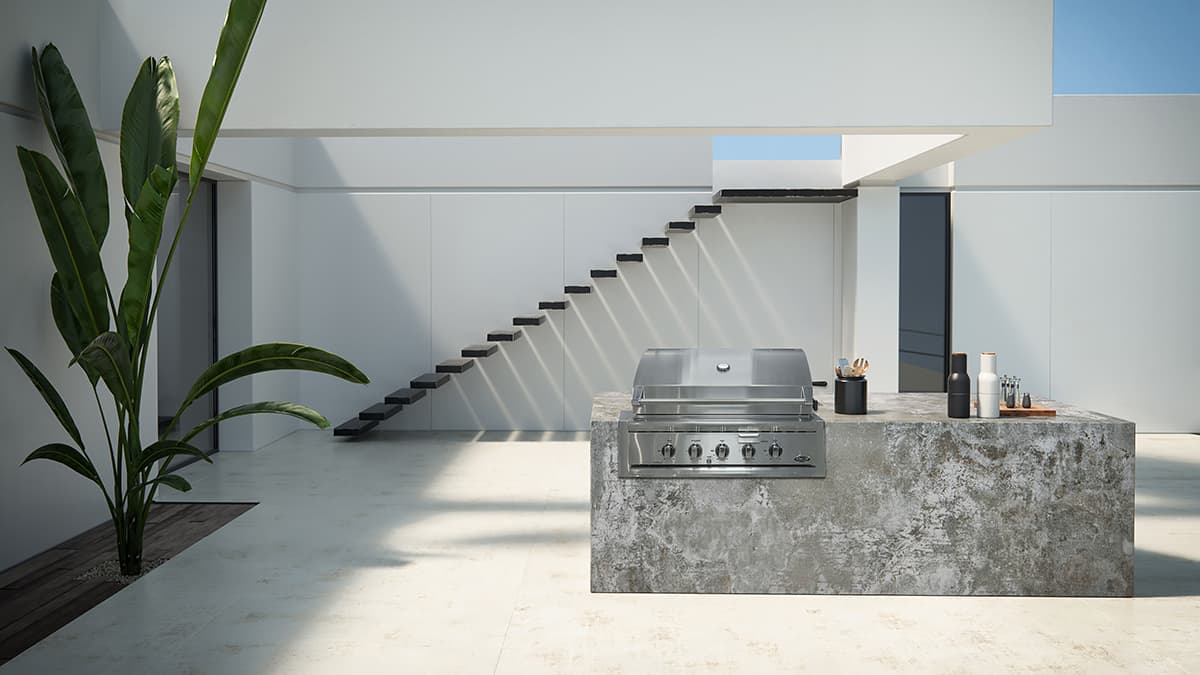
Countertops also play an important role in how an outdoor kitchen looks. Like the cabinets, a countertop’s appearance is equally important as how well it functions and how durable the surfaces are. Luxury countertop brands like Dekton offer the complete package of form, function, and resilience.
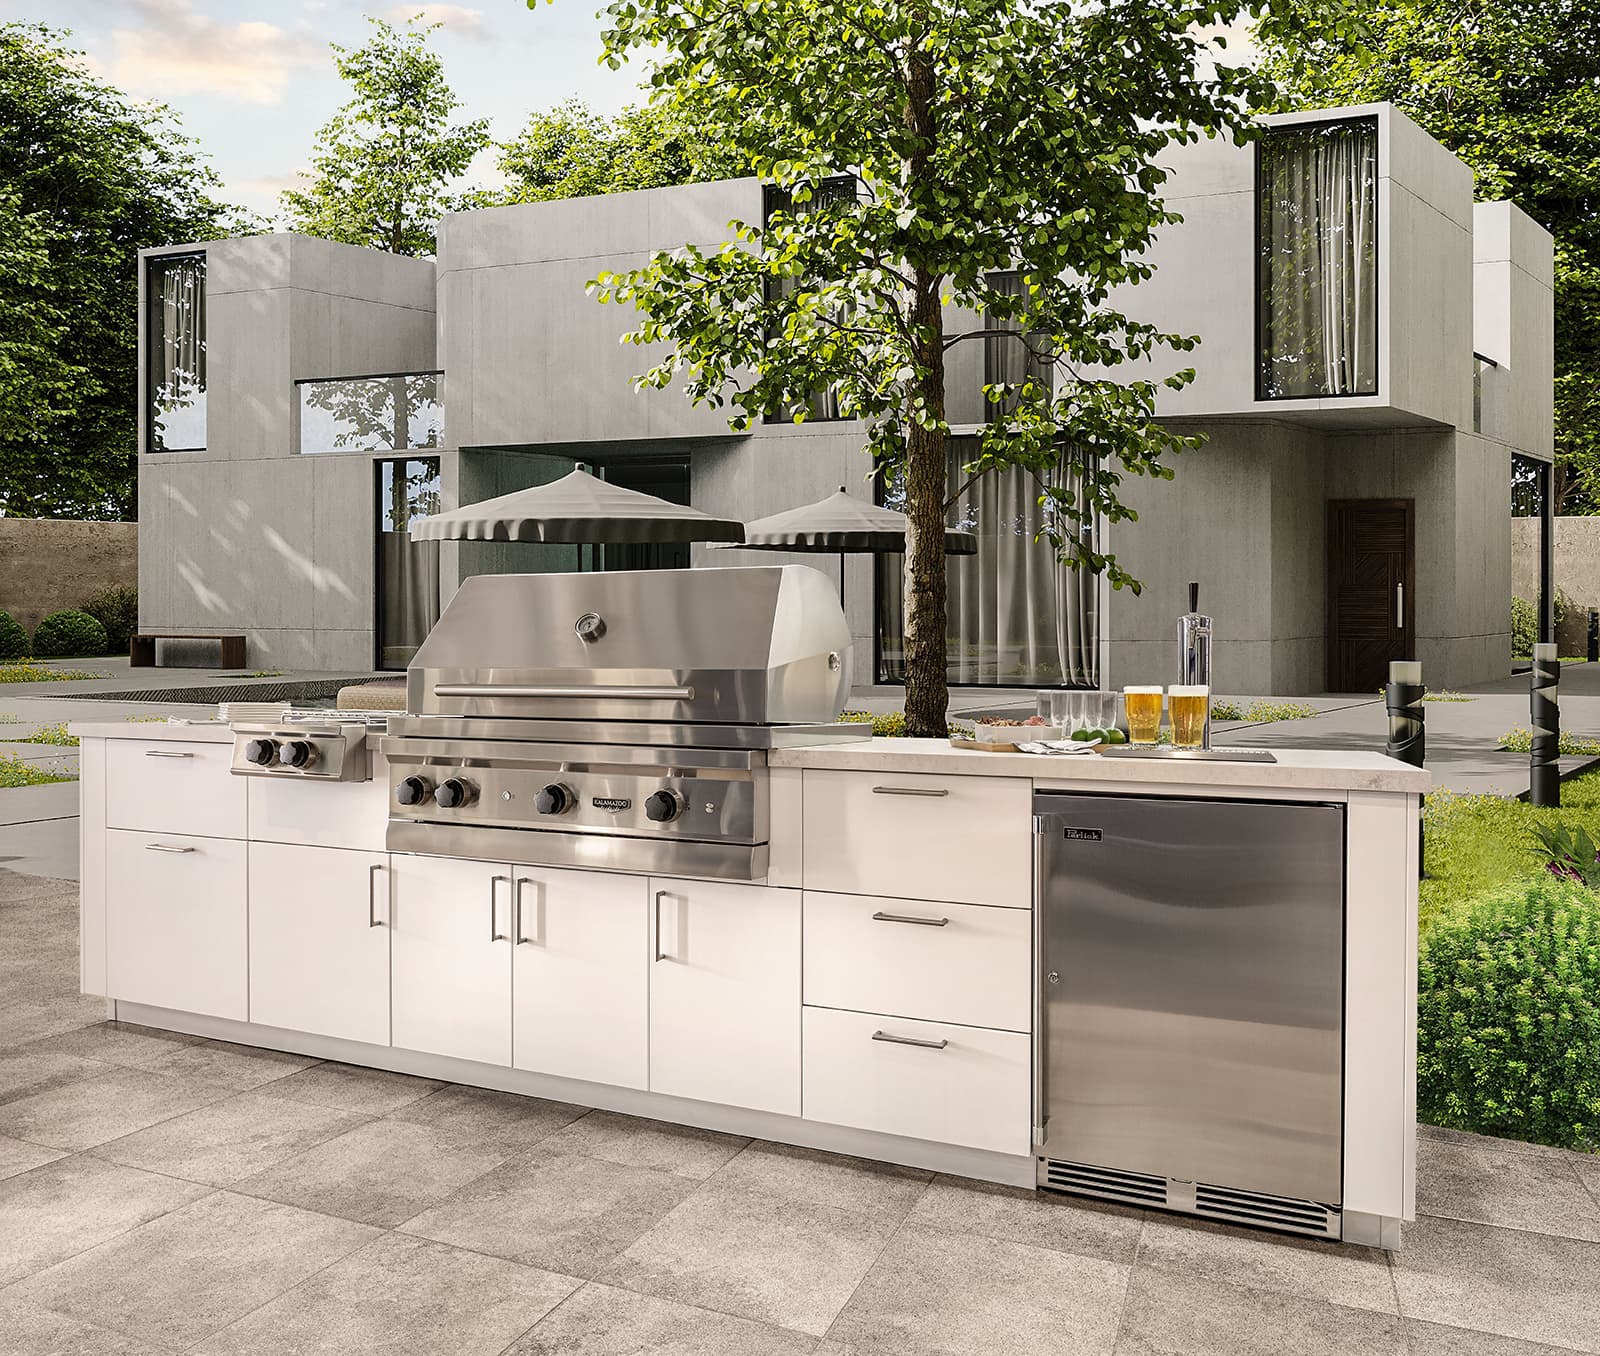
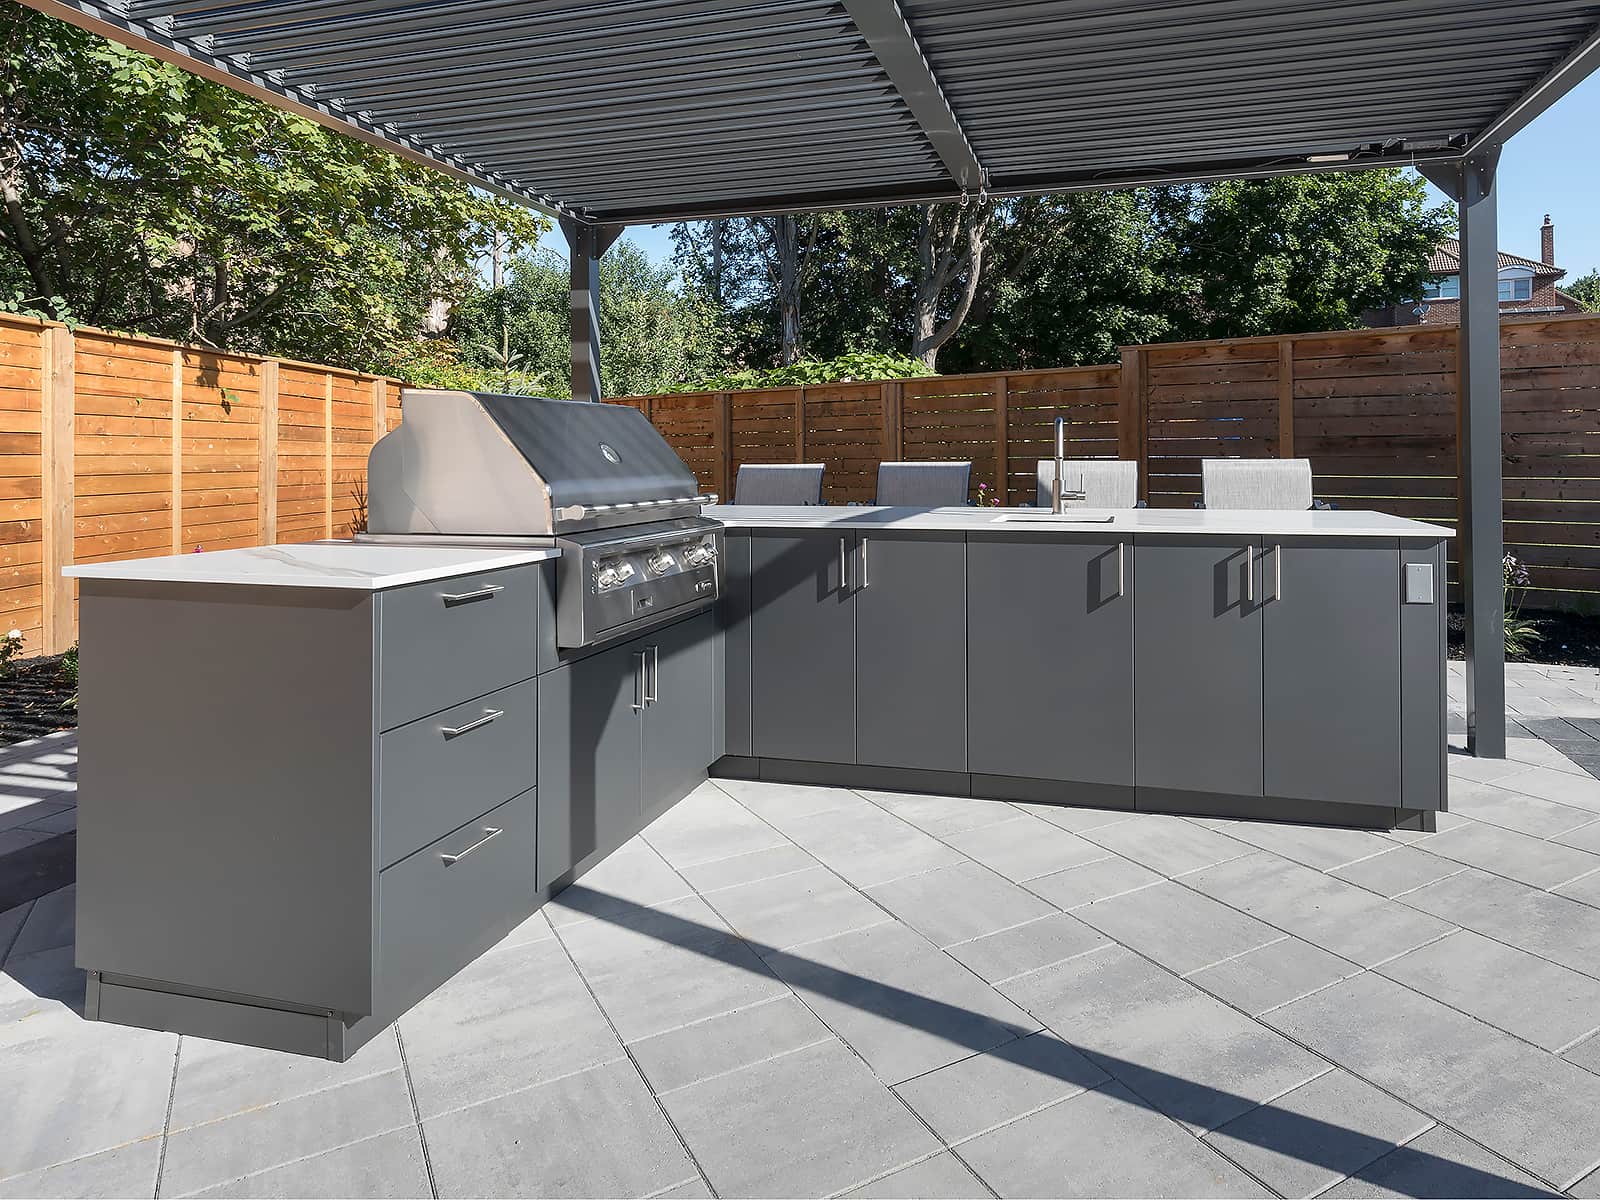
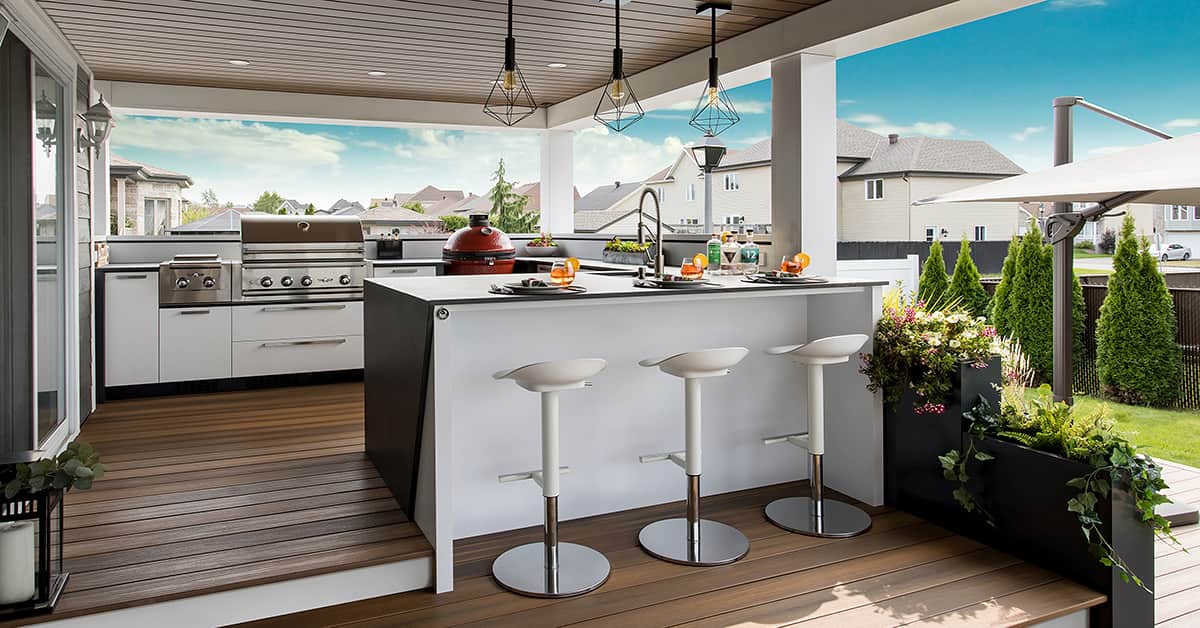
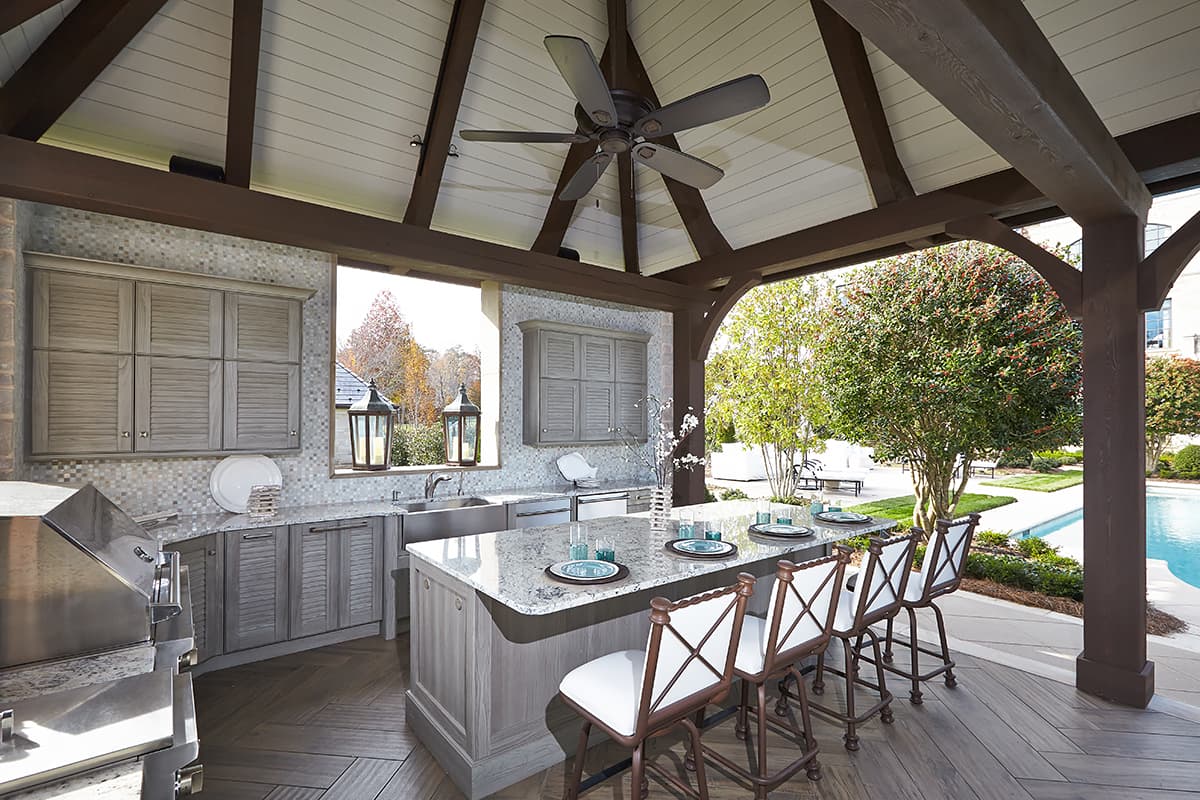
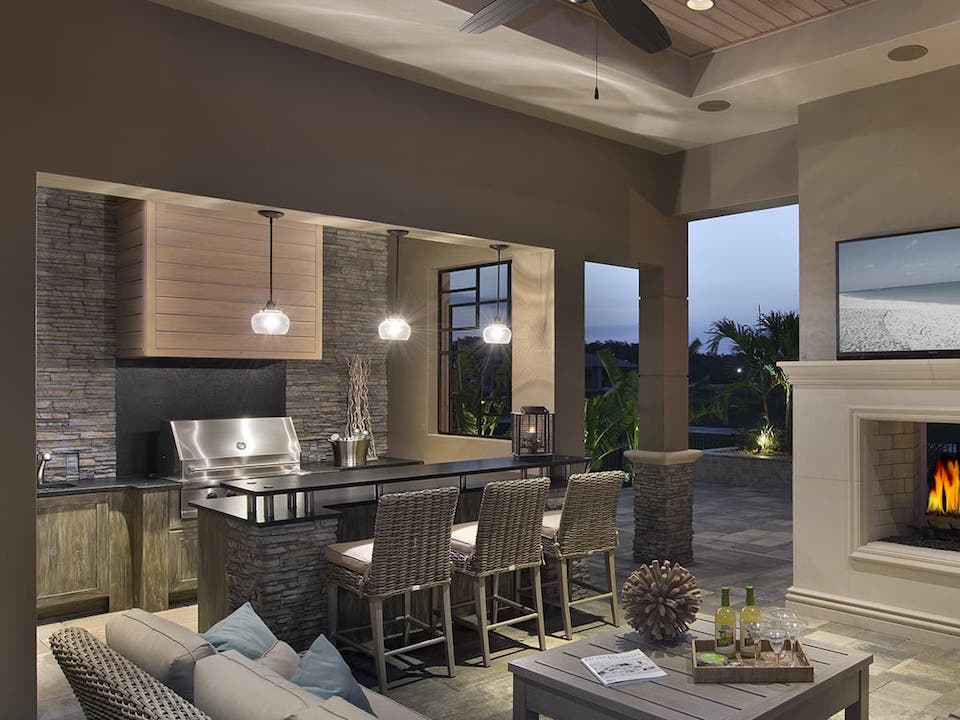
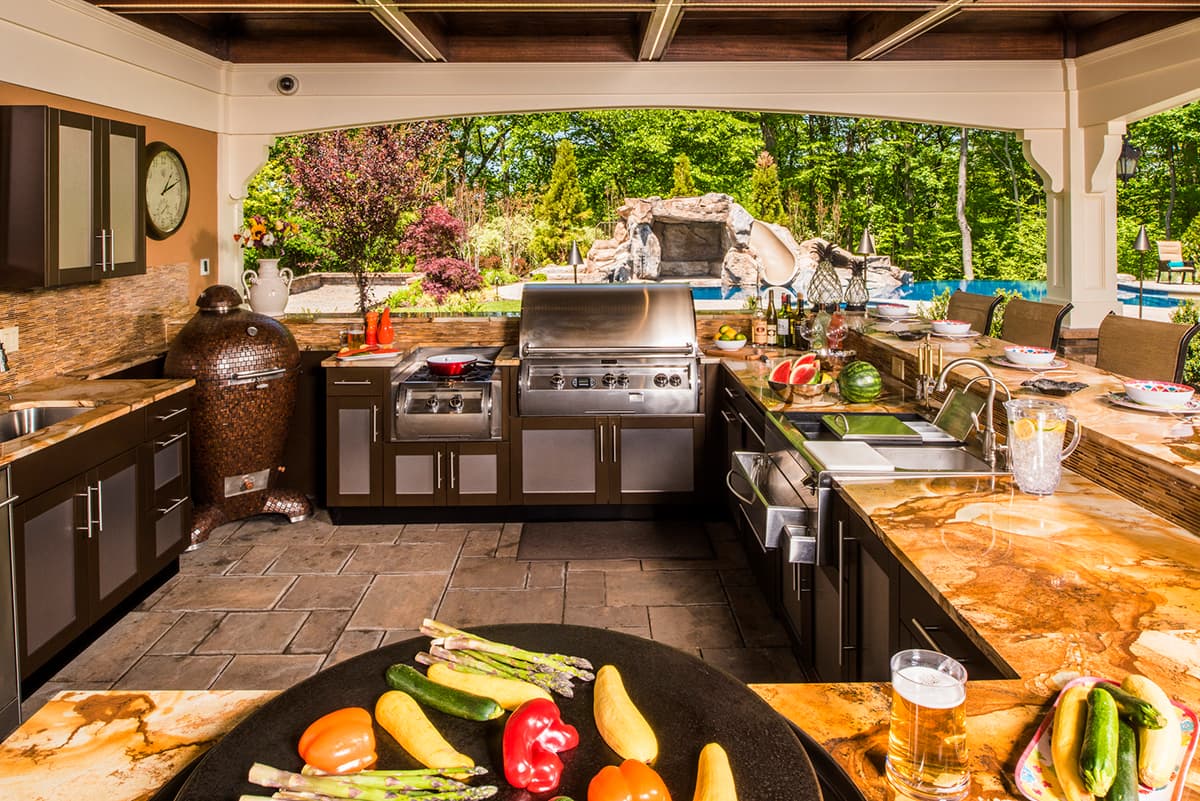
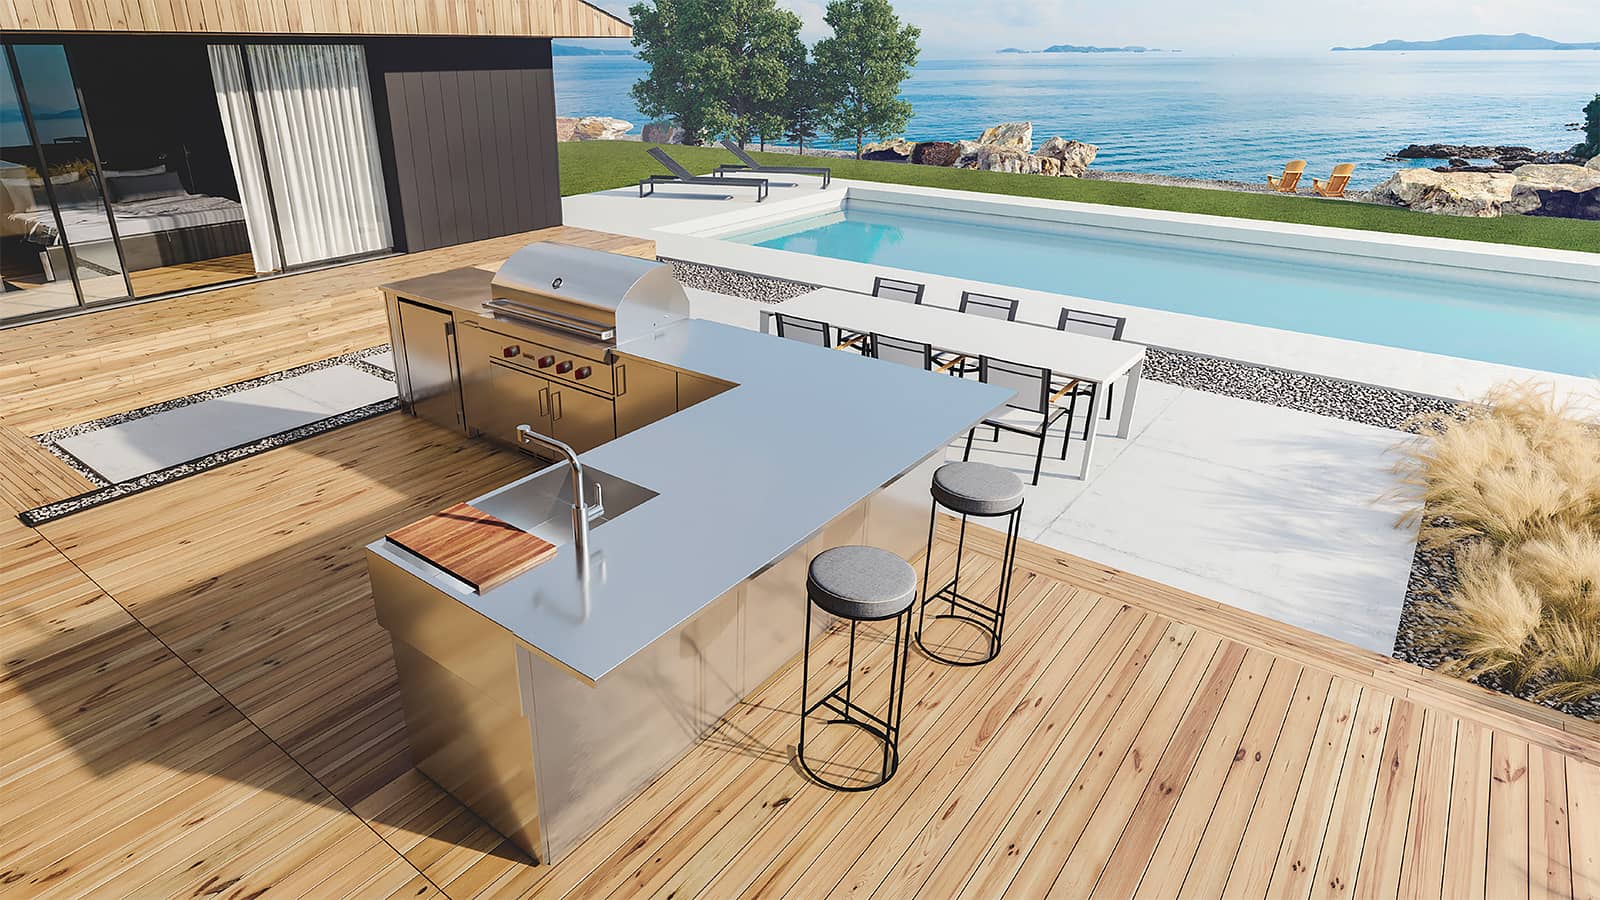
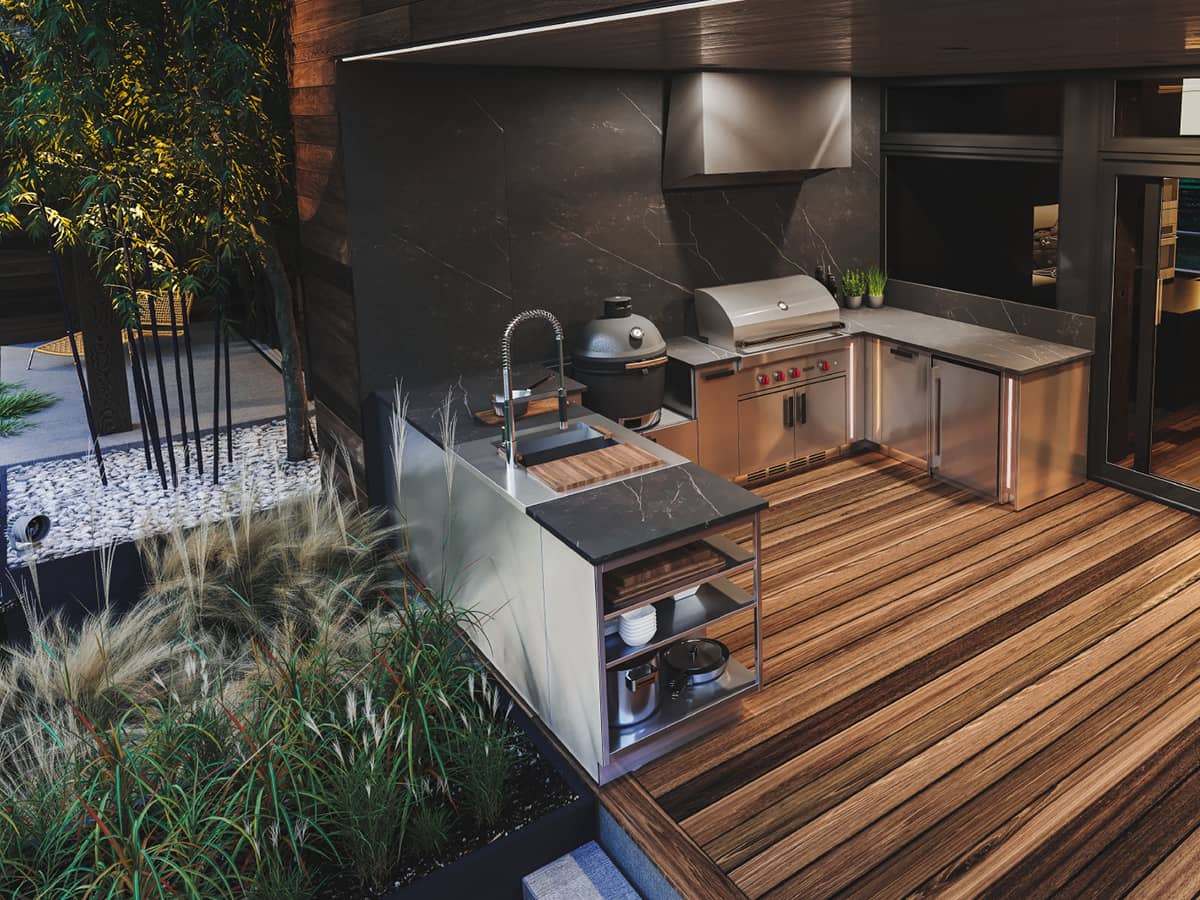
Premium appliances and cabinets look right at home in this luxury home backyard.
4. Having ample design flexibility
Whether it’s due to budgetary constraints or personal taste, some people are content with having a basic outdoor kitchen setup that doesn’t involve making a bunch of design decisions. They often choose to DIY their kitchen installation by buying prefab outdoor kitchen kits that tend to have a limited number of customization options.
However, a current outdoor living trend finds an increasing number of homeowners wanting more elaborate and sophisticated kitchens in their backyards and as much flexibility to design them to fit their every need.
That shouldn’t be surprising, considering how the perception of outdoor kitchens has evolved so much in recent years. Today, backyard kitchens are more than basic cooking spaces. They have become stylish and valuable parts of our homes that support our lifestyles and wellness.
Fortunately, outdoor kitchens offer a virtually limitless number of personalization and customization options. Whatever speaks to your style, there’s likely a product or design choice available to fit it.
Cabinets come in a variety of materials like stainless steel, marine-grade aluminum, PVC, and high-density polyethylene. They can be customized with a multitude of finishes, colours, door styles, and hardware options for door and drawer handles.
There are hundreds of grill models available, ranging from the most basic appliances that can get the job done to grills with state-of-the-art tech that alerts you when your meats have reached the perfect temperature (or are getting burnt to a crisp).
As the demand for more stylish outdoor living spaces grows, having ample design flexibility to keep up with the latest design trends is important. For example, take the popular indoor-outdoor design concept, which involves creating a cohesive transition space between a home’s indoor and outdoor living areas. It’s easier to accomplish this when you have more design options to work with.
5. Multi-purpose backyard spaces
One by-product that came from being cooped up inside during the pandemic is a shift to having more multi-purpose spaces in our homes. Because our backyards are such a vital part of our homes, patios and decks are being designed accordingly. More of them now serve multiple functions and are built for maximized usage during the spring, summer, and fall.
Entertaining outdoors is one of those functions, so more backyard kitchens are incorporating dining and lounging areas that enhance the outdoor living experience. The convenience and cost savings of at-home dining are more valued than ever. Experts surveyed by trend forecasting company WGSN for their The Home Lifestyles 2025 study believe at-home entertaining will continue to be one of the hottest home trends.
A big reason we want our homes to provide more functionality is the rise in remote work. The “flexible living space” trend has become very popular and Canadian Real Estate magazine lists it as one of the top features modern home buyers want.
Whether it’s on a full-time or part-time basis, a lot more of us work from home. Outdoor kitchens can be used as a workspace and kids study space when the weather is nice. A backyard workspace offers a nice change of scenery from a home office and provides the health benefits of spending time outdoors.
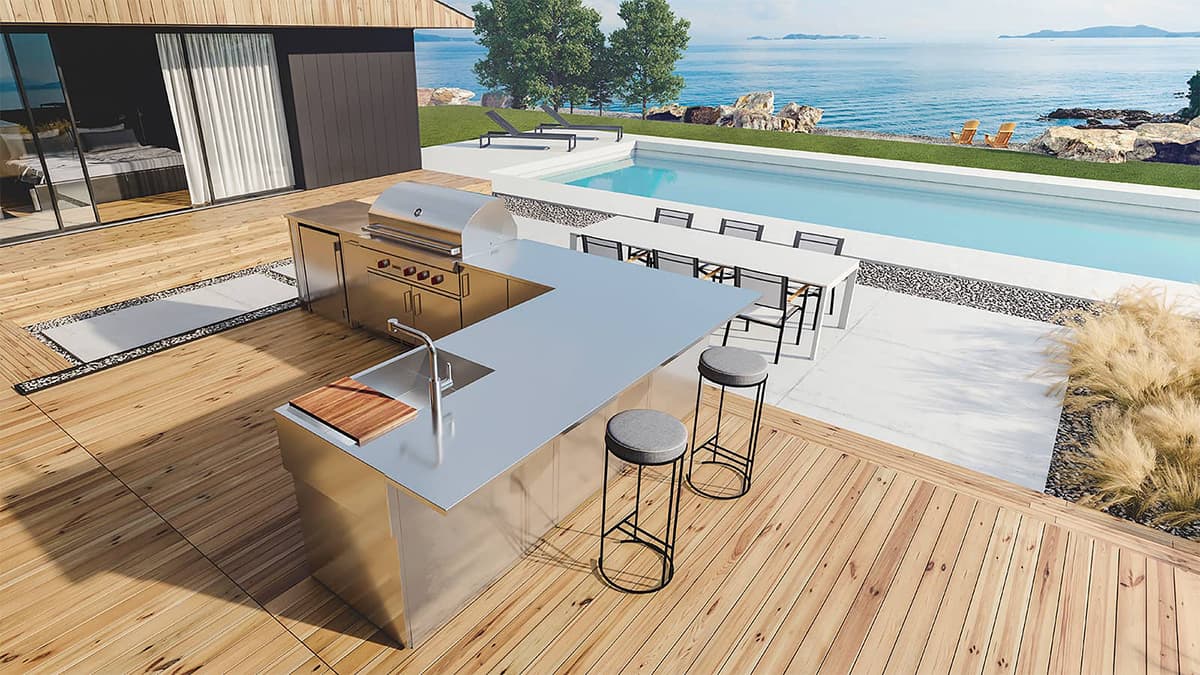
An outdoor kitchen can be designed to accommodate a workspace by including extra counter space that doubles as a bar area and extra food prep space when you’re not working.
If you don’t fancy sitting on a bar stool for hours at a time while you work outside, have your kitchen designer accommodate your needs. Ask them to incorporate a cutout section into the counter and cabinets to create a more traditional desk-style setup that lets you use a comfortable outdoor office chair and rest your legs underneath the counter.
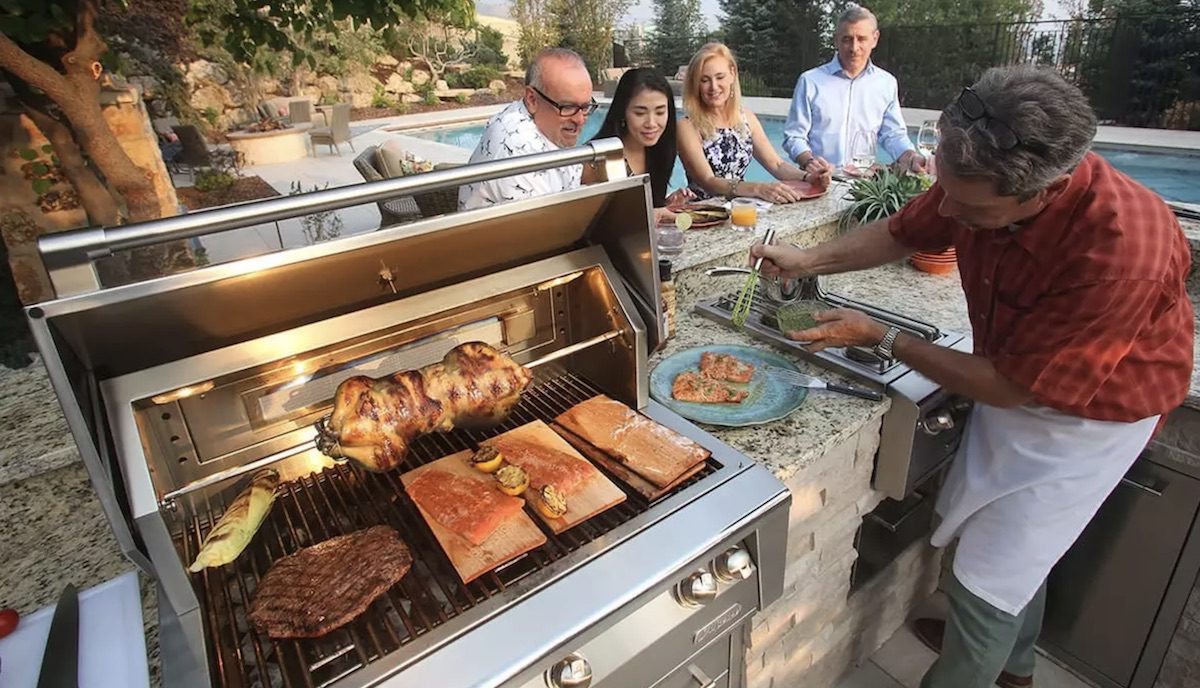
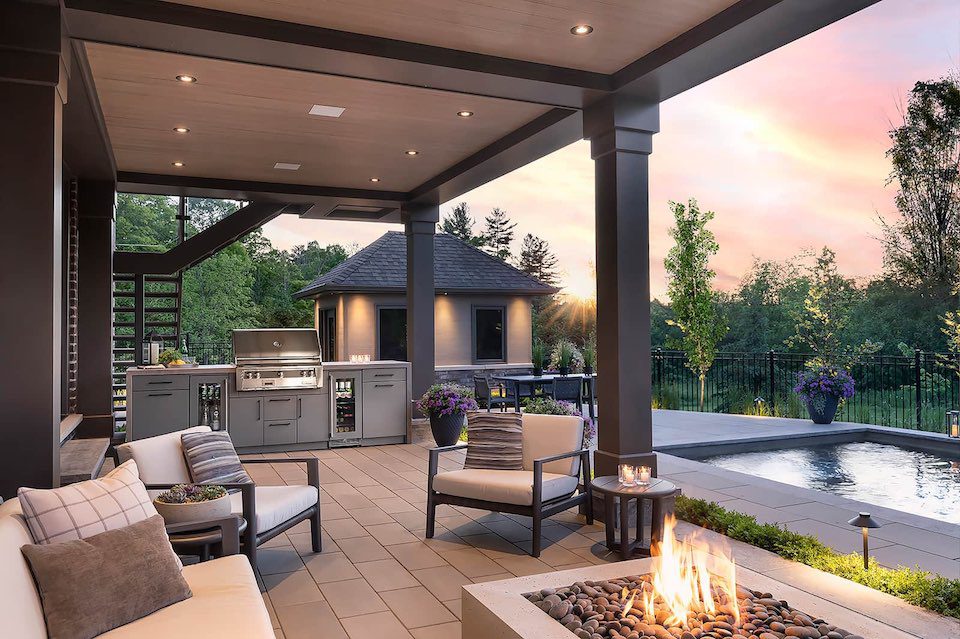
At-home entertaining is more popular than ever. Few home features are better for entertaining guests than an outdoor kitchen and dining space.
6. Professional outdoor kitchen design and installation
Studies show that many home DIY projects don’t turn out as expected, leading to a frustrating experience and disappointing results. That’s why 90% of homeowners hire professional help for their home renovation, according to the 2024 Houzz Home Study.
DIY’ing an outdoor kitchen installation or remodel may be tempting, but it’s a major home improvement project that shouldn’t be taken lightly.
Even the most basic outdoor kitchen projects involve complex design, working with utility hookups, and construction challenges that require expertise to produce successful results. That Houzz study also found that homeowners spend about twice as much time planning a renovation project compared to the construction phase.
Hiring a professional outdoor kitchen company ensures a smoother, safer, and more high-end result you’ll be fully satisfied with. A professional contractor acts as the “captain” of the project, ensuring efficient execution with a well-established process.
From selecting durable materials to creating a cohesive design, experienced pros can bring your kitchen design ideas to life while avoiding costly mistakes. They can also navigate unexpected challenges with ease, saving you time and money in the long run. As the saying goes, “there is no substitute for experience”!
Additionally, reputable outdoor kitchen companies use high-quality products and prioritize aesthetic appeal. That ensures your kitchen looks amazing and lasts for many years.
The latter fact is one consideration that gets overlooked when someone is weighing the cost versus value factor for a kitchen renovation. Investing in durable, high-quality outdoor kitchen products and having them professionally installed reduces the likelihood of having items fixed or replaced for a long time, which ensures a better return on investment.
7. Adding the latest outdoor living tech
Smart technology continues to revolutionize our homes and the backyard hasn’t been ignored. The latest outdoor living tech allows us to enjoy our backyards with more comfort, convenience, and functionality.
Multi-tasking is a big part of the backyard cooking experience. Therefore, it makes sense that one of the more popular outdoor kitchen trends being embraced by homeowners is the use of smart grills and outdoor appliances.
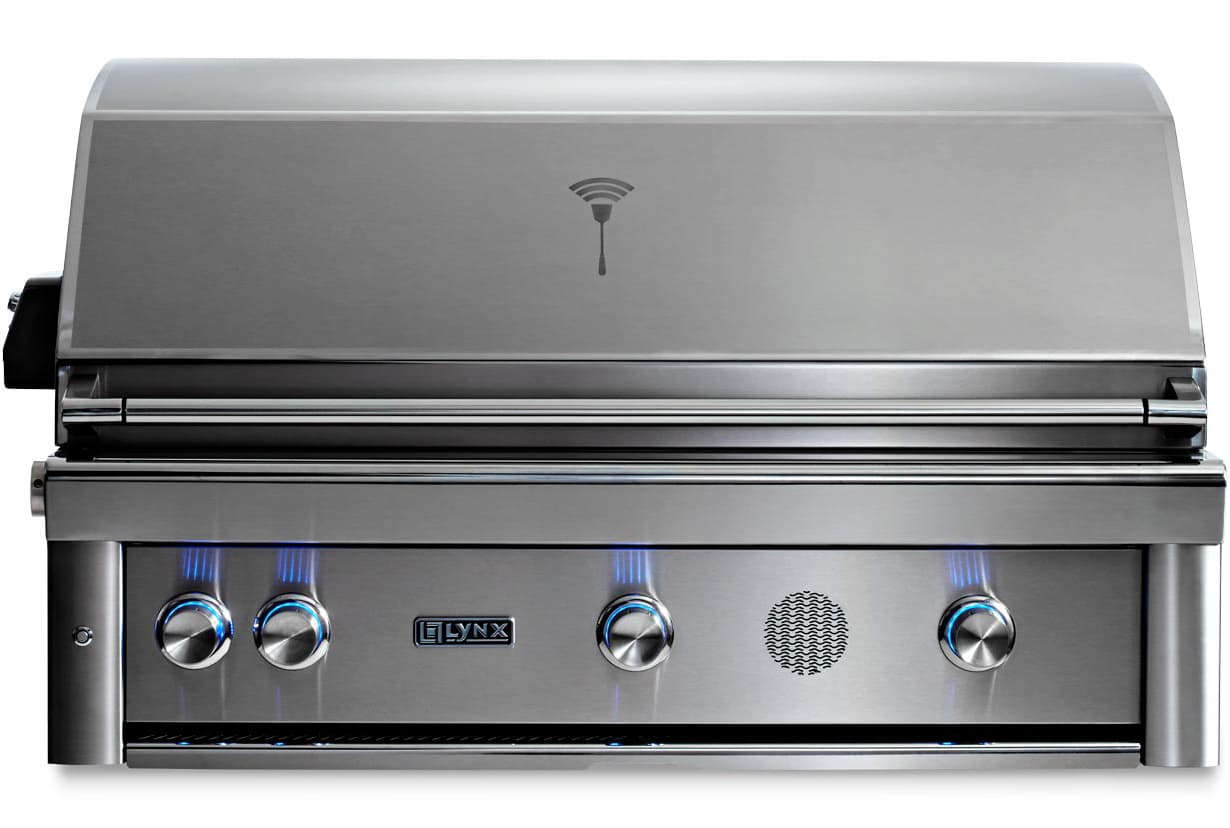
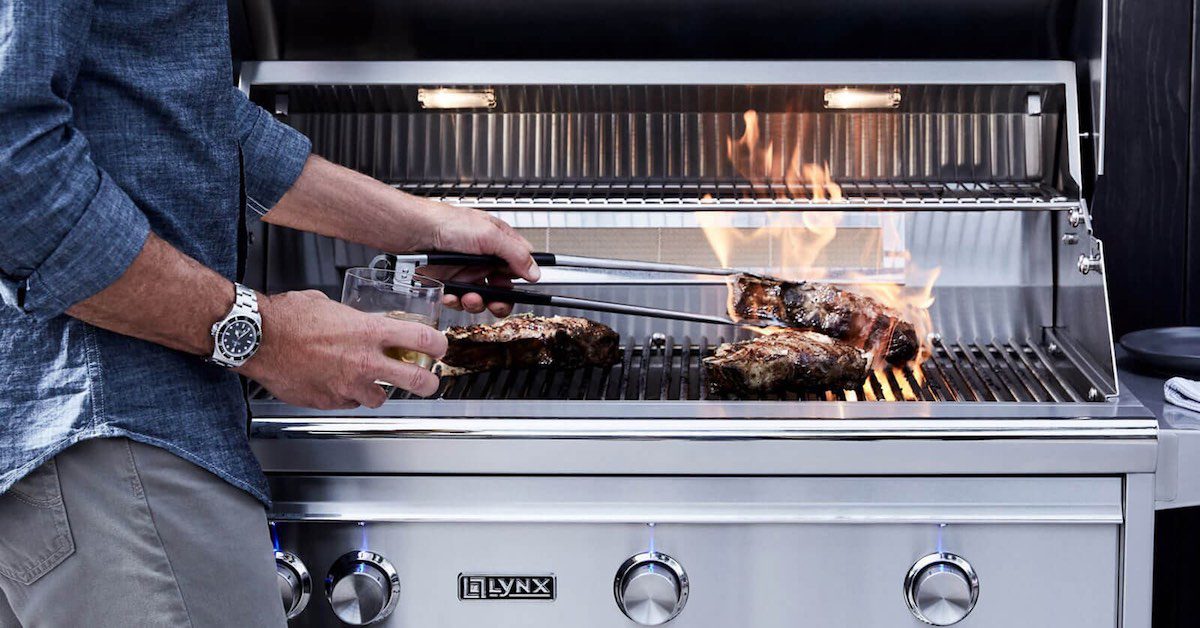
Smart grills like Lynx’s Professional Smart Series are at the forefront of outdoor cooking technology. Features that use an app to send updates to your phone help you keep closer tabs on the cooking process without needing to be right in front of a specific appliance while it’s operating. That makes grilling easier and produces better cooking results.
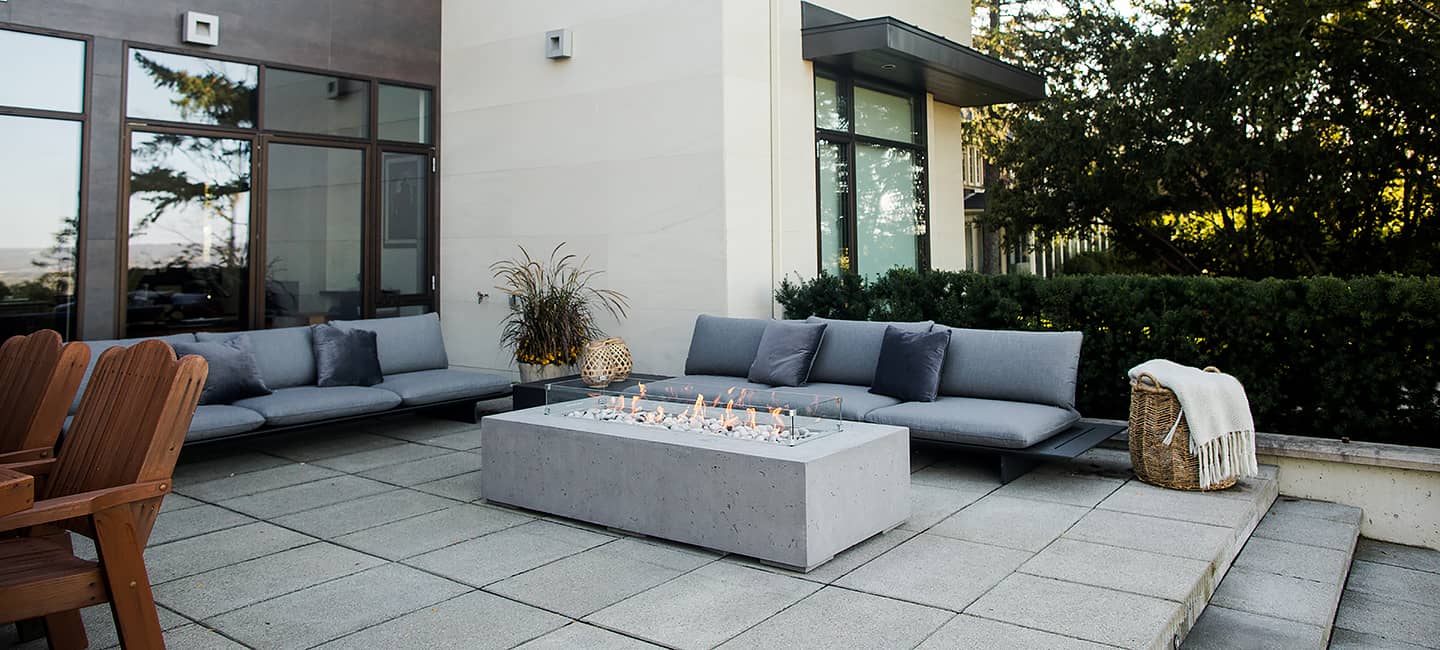
Wireless and waterproof outdoor speaker systems can keep you entertained with music or podcasts as you work in the kitchen and are perfect for setting the right mood for backyard gatherings. Smart lighting systems are also great for boosting a backyard’s ambiance, as are outdoor fire features like a fireplace or fire pit.
Since most outdoor tech products rely on WiFi connectivity, a robust WiFi signal is essential. Use strategically placed WiFi boosters and extenders to maintain a strong WiFi signal on your deck or patio.
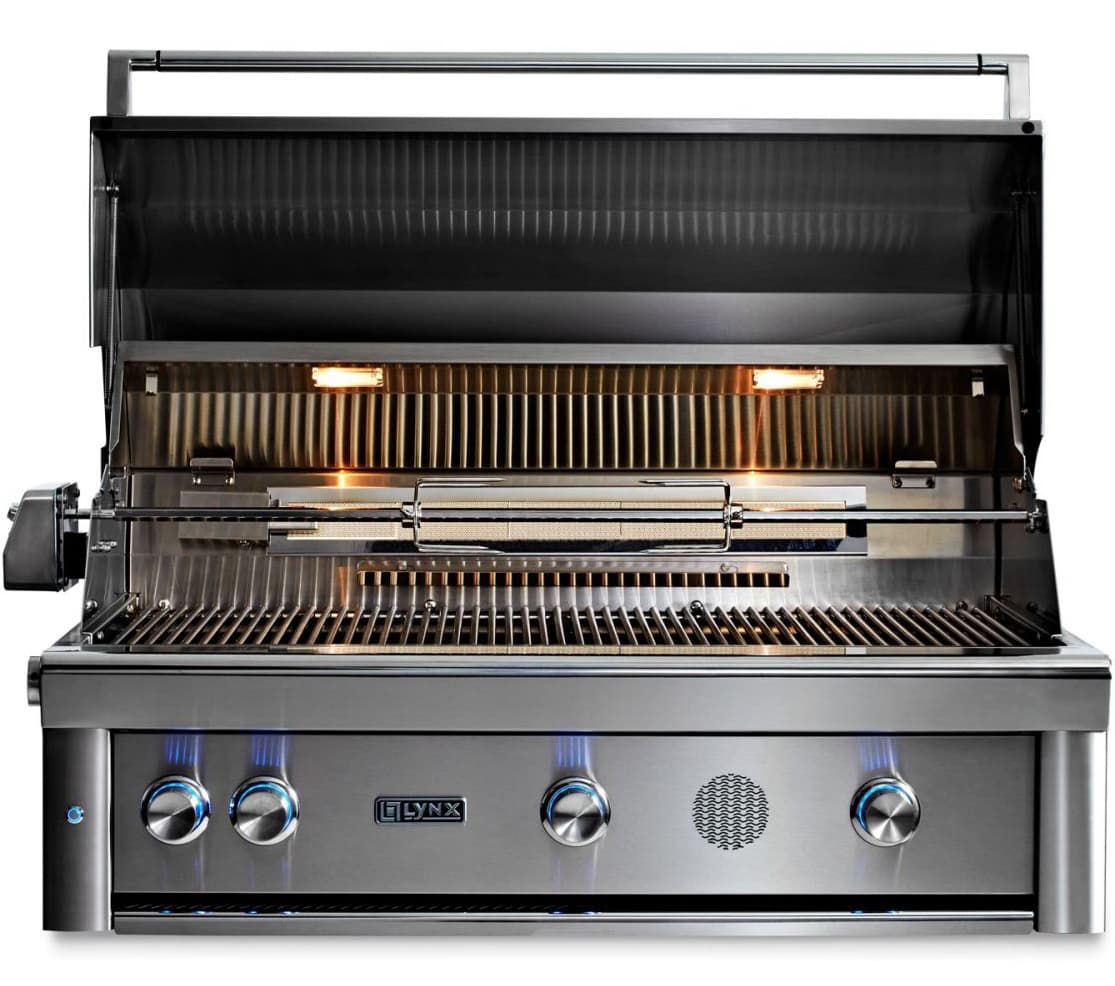
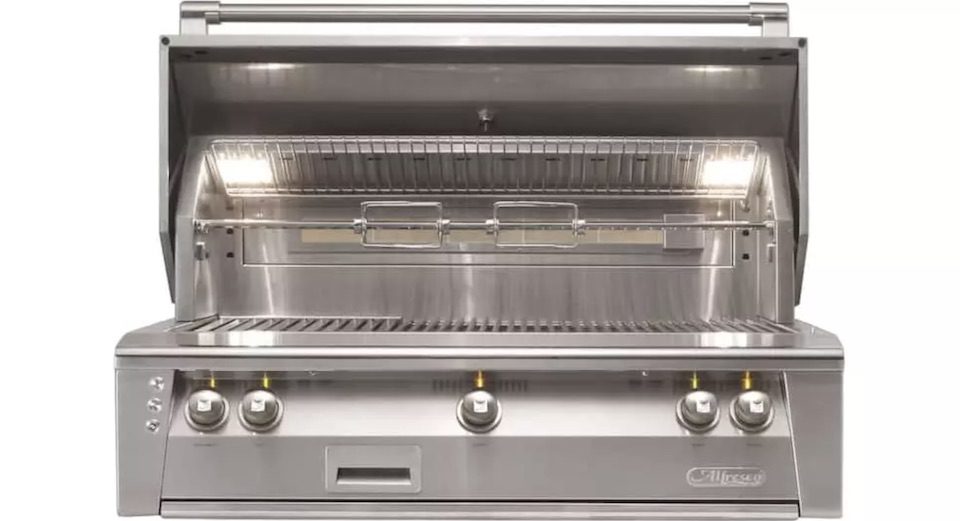
Lynx Professional Smart Series grills and smokers feature cutting-edge tech.
8. Creating kitchens that support our wellness
Along with improved comfort, better wellness in our homes has become a high priority in recent years. Countless studies have found that simply spending more time outdoors is beneficial to our physical and mental health. As we focus more on our self-care, outdoor spaces are becoming essential for rejuvenation and relaxation.
For proof, look no further than the most recent Kitchen Trends Report from the National Kitchen & Bath Association. 53% of kitchen industry experts surveyed believe “kitchens will become increasingly connected to the outdoors and become focused on healthy living in the next three years’’.
A well-designed outdoor kitchen makes cooking meals easier, especially if it’s fully equipped with all the amenities you need to eliminate trips in and out of the house. An efficient, headache-free cooking experience reduces stress and leaves you with more time to enjoy socializing with your family or visitors.
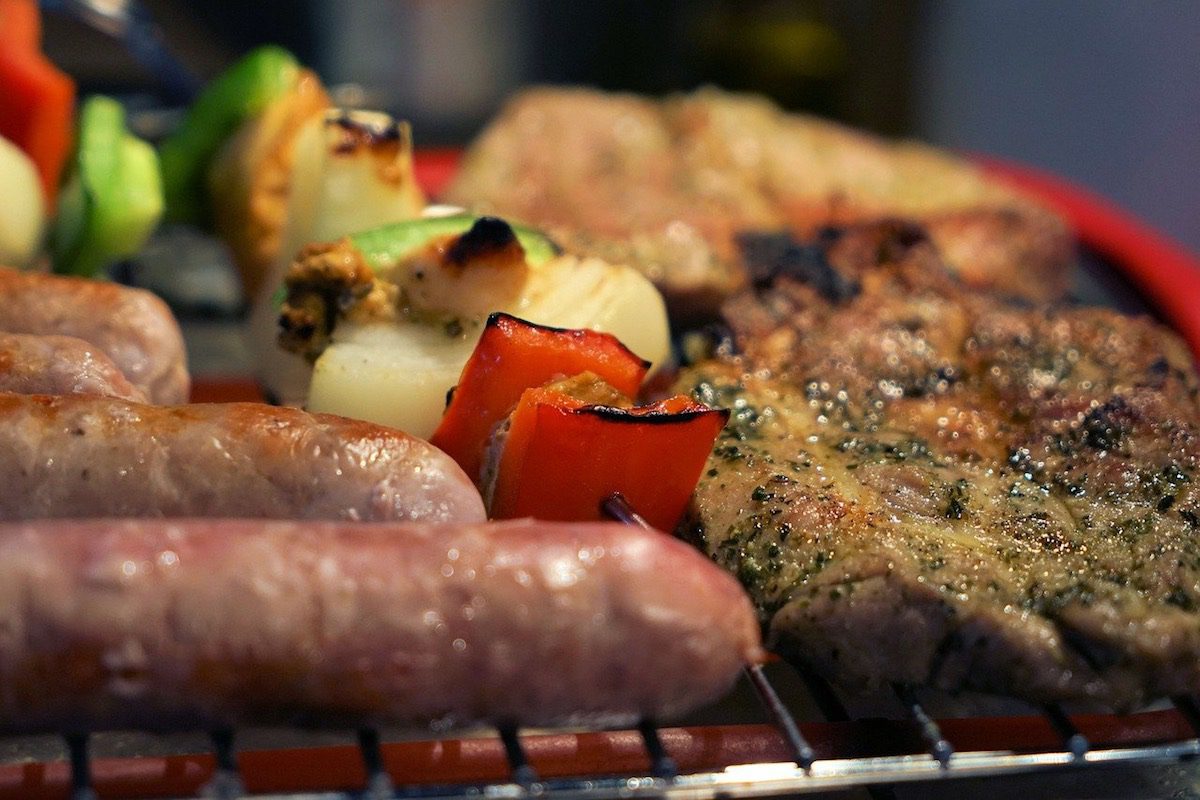
Grilling is also one of the healthiest ways to cook. Cooking meat on grates gets rid of a lot of excess fat. And because high cooking temperatures are typically used, meats get cooked much faster, which helps them retain important nutrients. This theory also applies to grilled vegetables, which retain more of their vitamins, minerals, flavour, colour, and texture.
9. Nature-inspired biophilic designs
As more of us discover and appreciate the therapeutic benefits of being outdoors, decks and patios are adopting more nature-inspired features in their designs.
It’s called “biophilic design” and there are many ways to incorporate more natural elements into an outdoor kitchen and living space. Here are some examples:
- incorporating natural materials with wood decks and railings or stone patios
- choosing cabinets with colours found in nature like evergreen or sandstone
- getting NatureKast PVC cabinets that replicate the natural colour and texture of real wood
- adding more greenery with stylish planters, a vertical garden, and landscaping upgrades
- using part of the kitchen space for a handy herb garden
- decorating with items made from natural materials like bamboo, wicker, and wood
To learn more about other kitchen design themes and ideas, check out our How to Choose the Best Outdoor Kitchen Colours blog post.
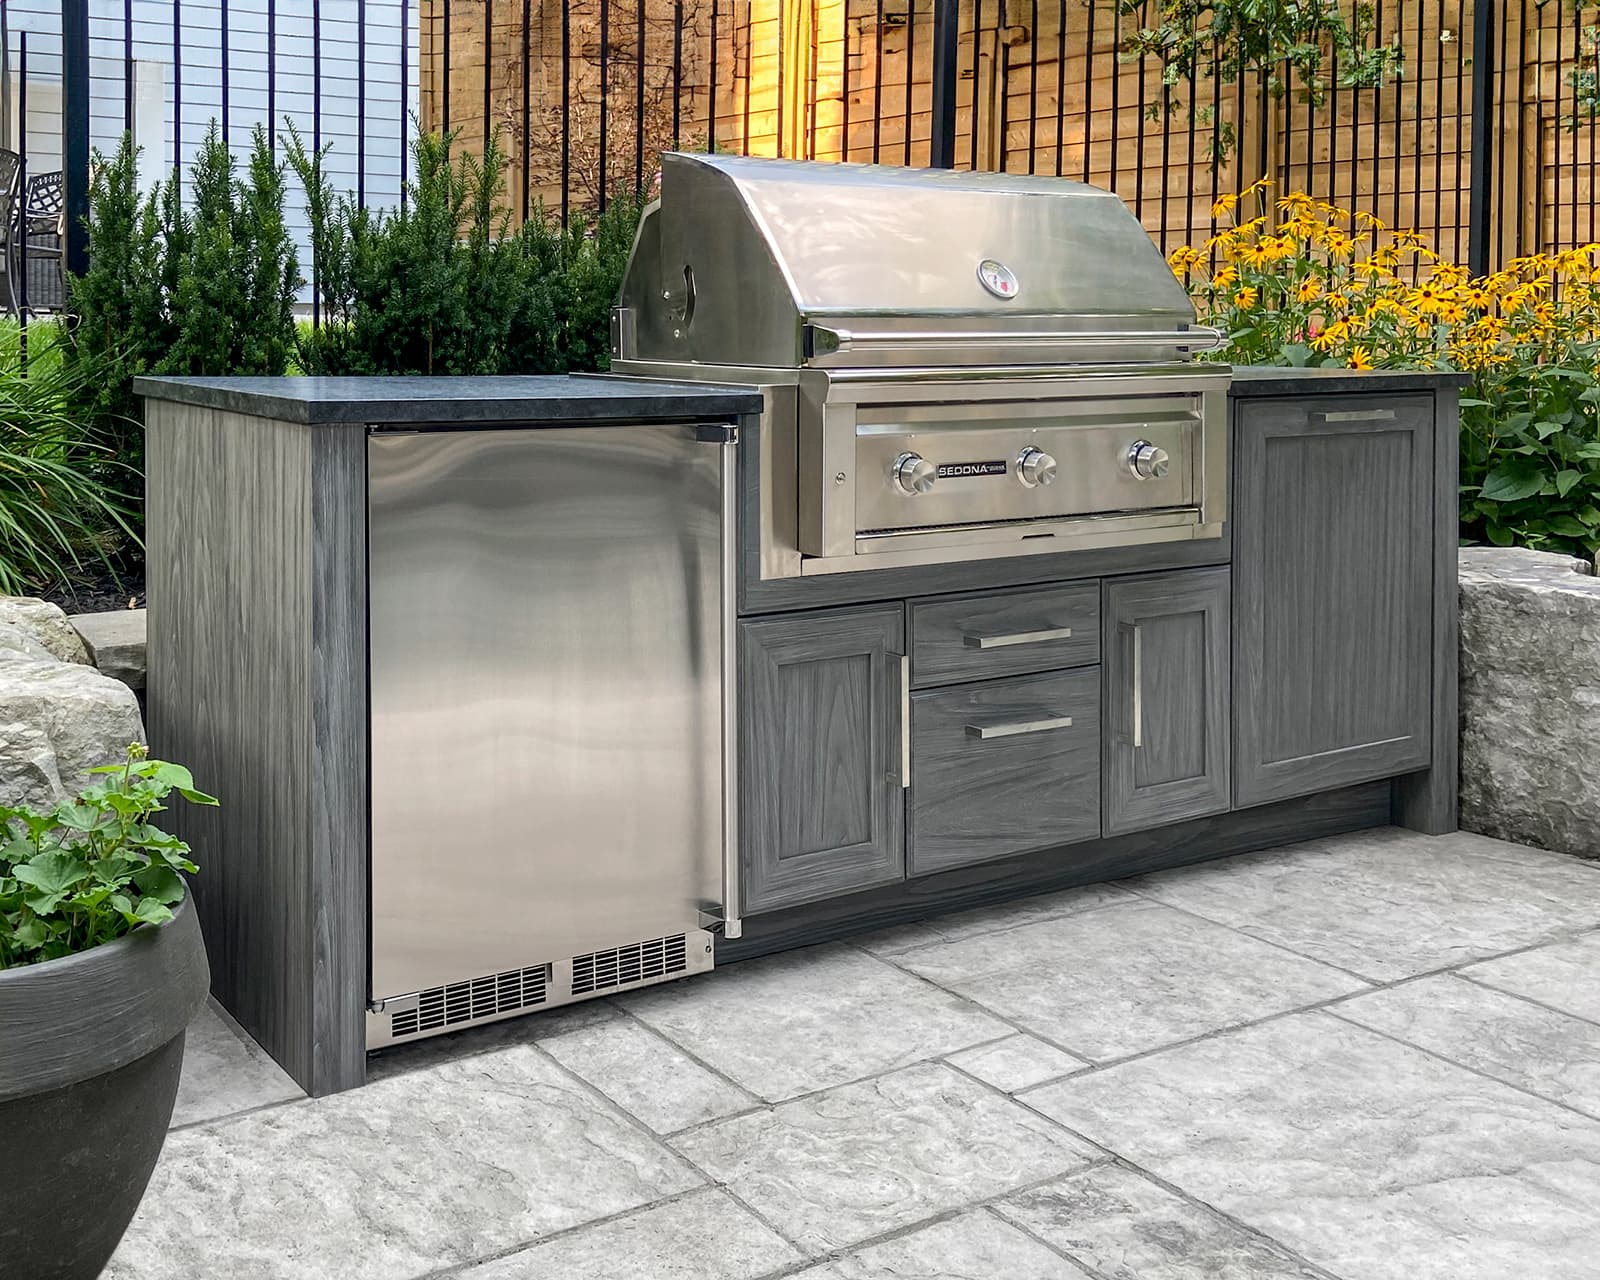
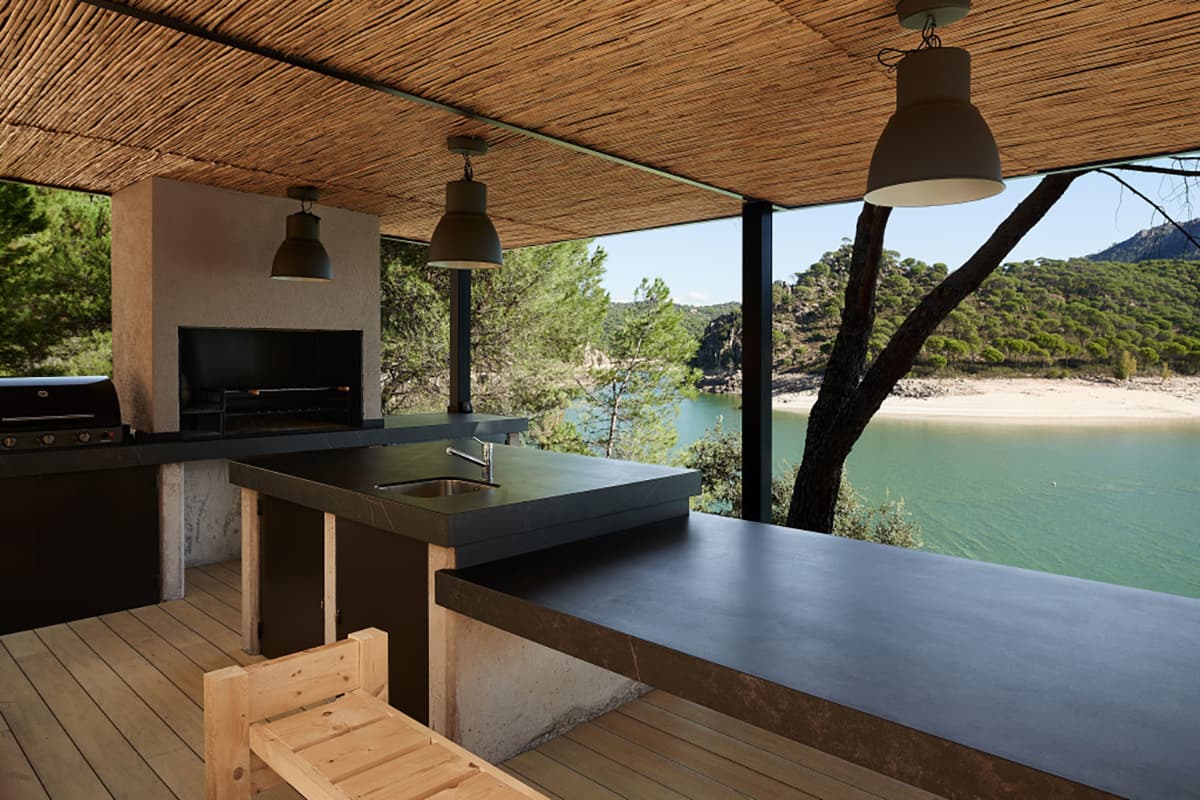
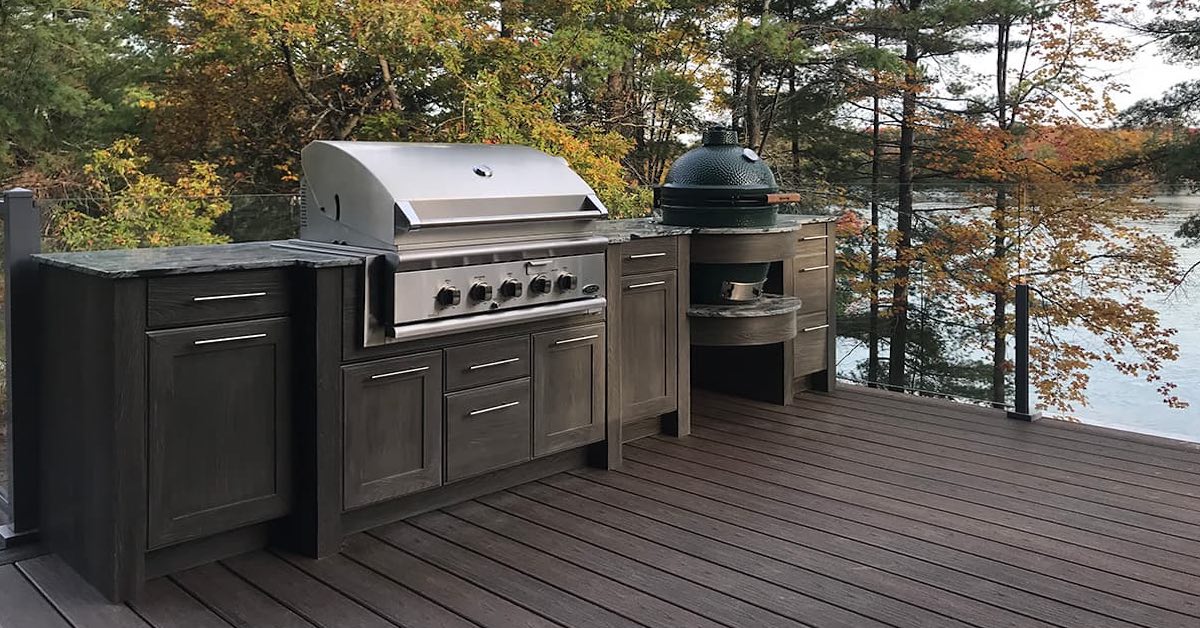
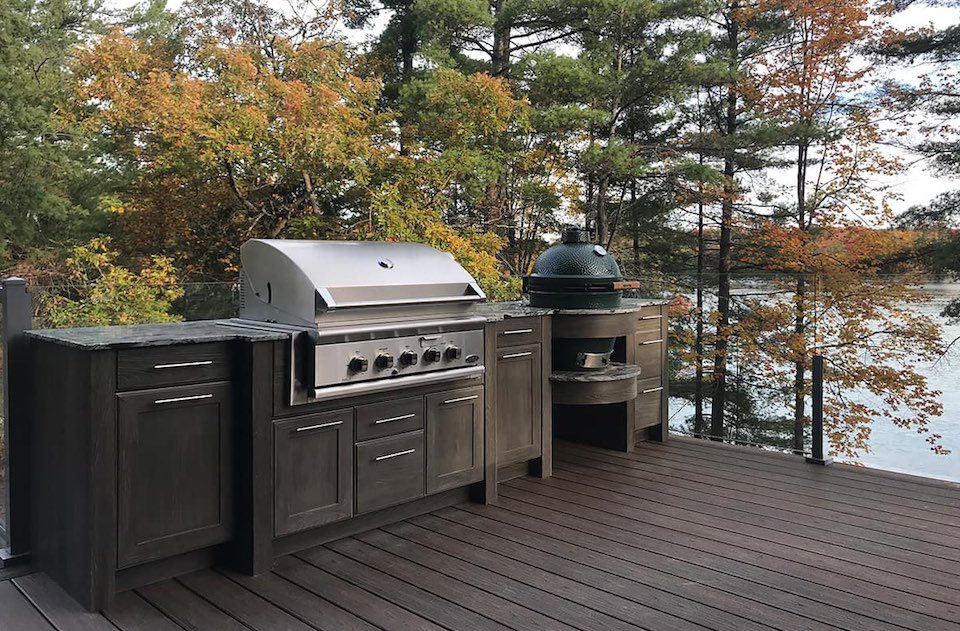
It doesn’t take much for this outdoor kitchen’s owner to feel connected to nature whenever they cook outside. The NatureKast PVC cabinets look just like real wood.
10. Sustainability mindfulness
You may be familiar with the sustainable living trend, which involves finding ways to minimize environmental degradation by making changes to our lifestyles and consumer habits.
Making more eco-friendly choices has become an important consideration for modern exterior home designs. Outdoor kitchens and living spaces can be designed with more sustainable features to support the lifestyles of environmentally-conscious homeowners.
An effective way to integrate better sustainability into an outdoor kitchen is to buy higher-quality products that will last longer. That includes everything from your appliances and cabinets to the deck and patio materials you use. Buying outdoor living products that last longer also boosts your home’s resale value.
Composite decking is a much more environmentally friendly option than wood for a few reasons. It lasts a lot longer (anywhere from 30-50 years), is partially made with recycled materials, and eliminates exposure to toxic materials in stains and sealers. Synthetic cabinet materials like PVC and high-density polyethylene are also partially made with recycled materials and can be recycled at the end of their lives. Using permeable pavers on a patio reduces water runoff, which causes soil erosion on your property and polluted runoff that reaches sewers and natural water resources.
Here are some additional ways to create a more eco-friendly outdoor kitchen:
- buy energy-efficient outdoor appliances
- incorporate solar technology and home energy management and storage systems
- use smart LED lighting
- get a composting bin for your kitchen scraps that can eventually be used as garden fertilizer
- make recycling easy by including a pullout bin in your cabinet system
- buy rugs made from organic or recycled materials
- get a smart low-flow faucet for an outdoor sink
11. Low-maintenance, durable outdoor kitchen materials
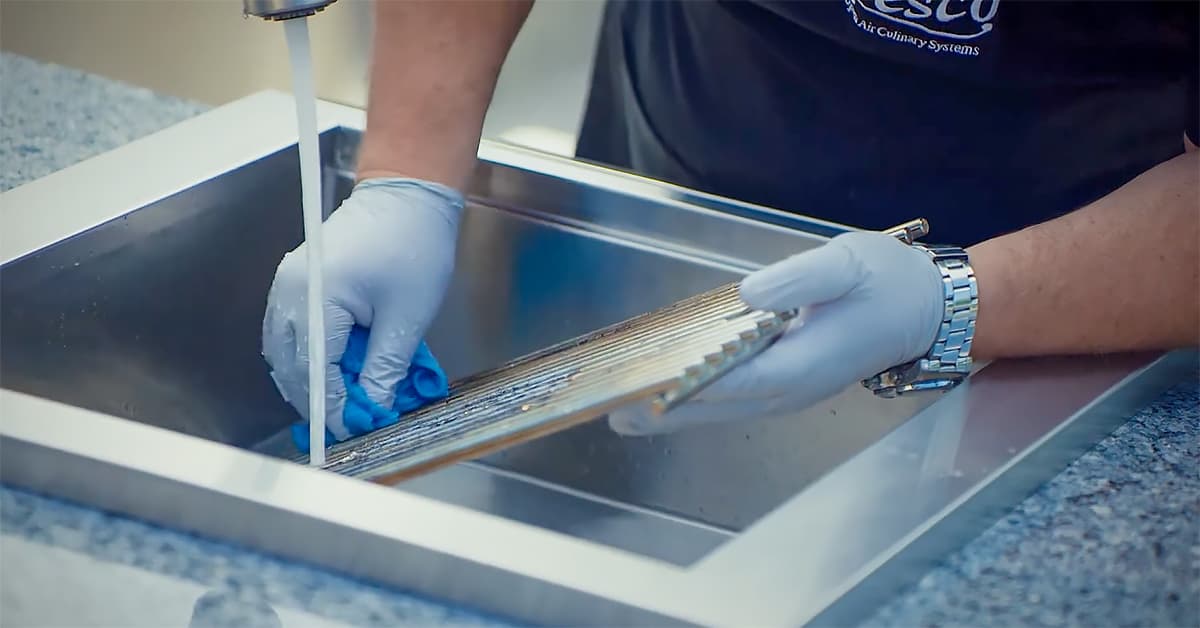
An outdoor kitchen is one more room in the home that needs to be cleaned, so it’s important to use materials that require minimal maintenance. Having low-maintenance surfaces means spending less time on upkeep and more time enjoying your kitchen.
Here are some ways to cut down on your outdoor kitchen maintenance:
- buy non-porous countertops that prevent stains and are easy to clean
- invest in cabinets with low-maintenance powder-coated finishes
- get a self-cleaning grill that eliminates messy clean-up jobs
- make sure the kitchen has an overhead cover (which also protects your investment and lets you use the space more)
The importance of the outdoor kitchen materials you choose also extends to their durability. These spaces are exposed to the elements year-round, making weather-resistant surfaces like stainless steel and marine-grade cabinetry and non-porous countertops essential for longevity.
These high-quality materials resist rust, moisture, and extreme temperatures, reducing the risk of warping, cracking, or fading over time. This ensures long-lasting beauty and functionality with your kitchen products.
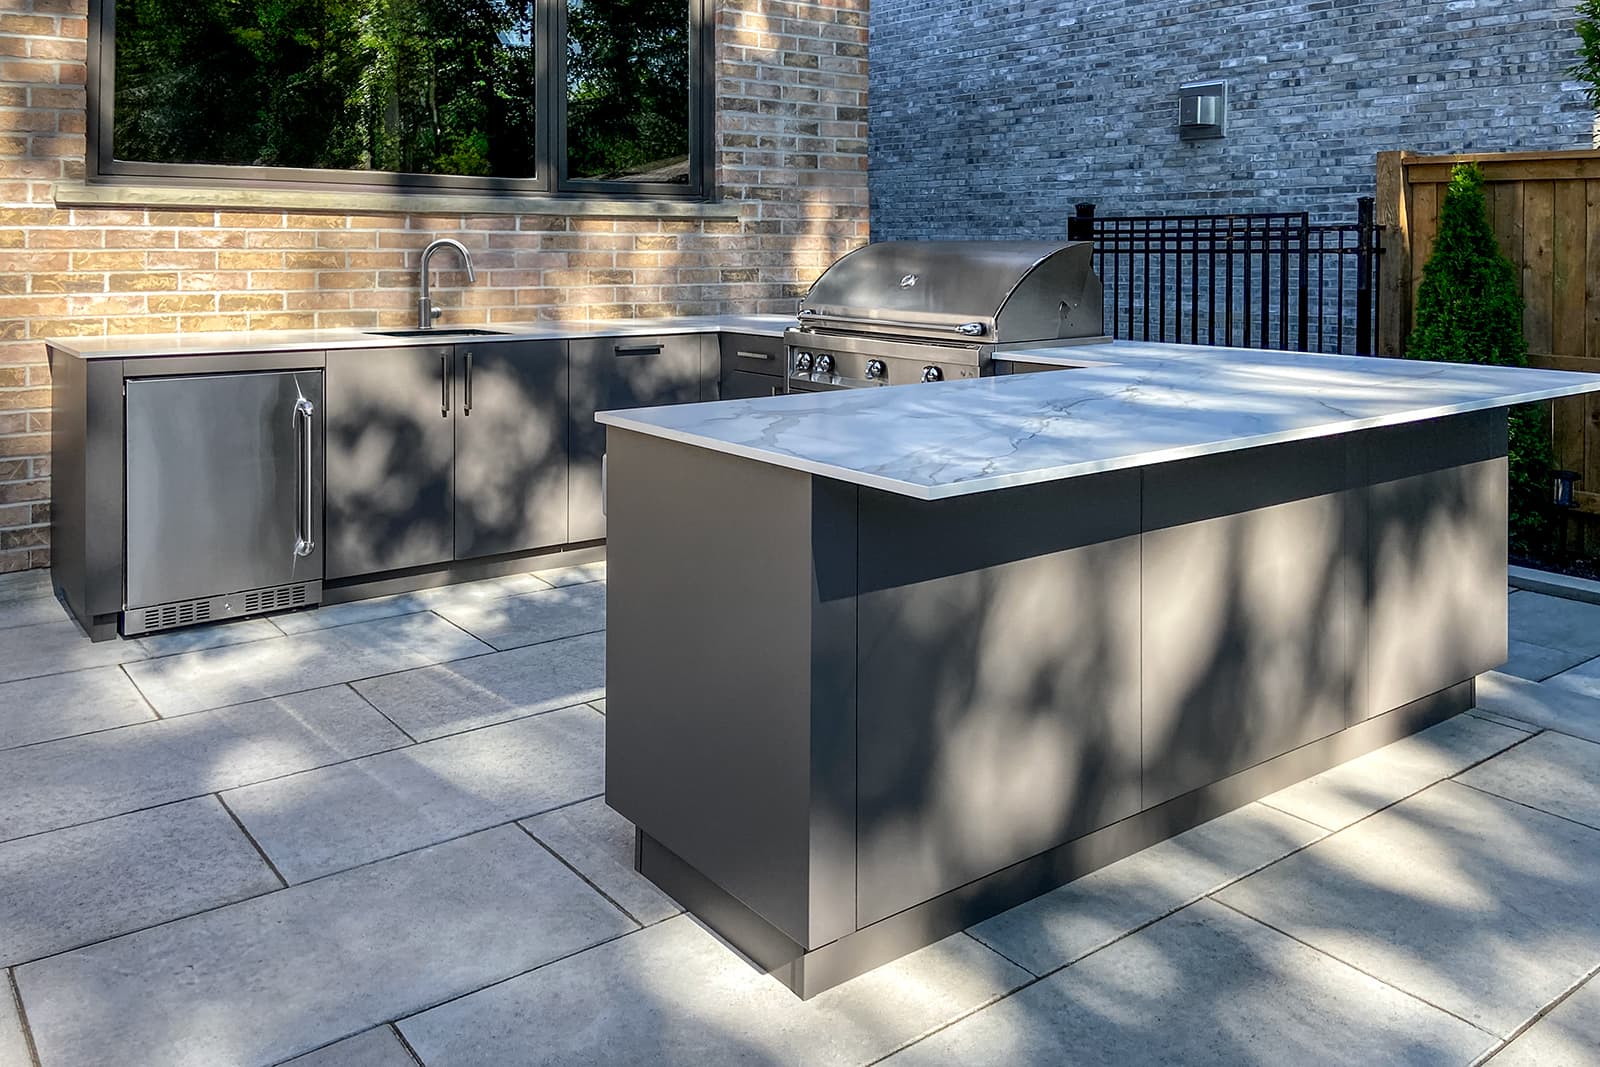
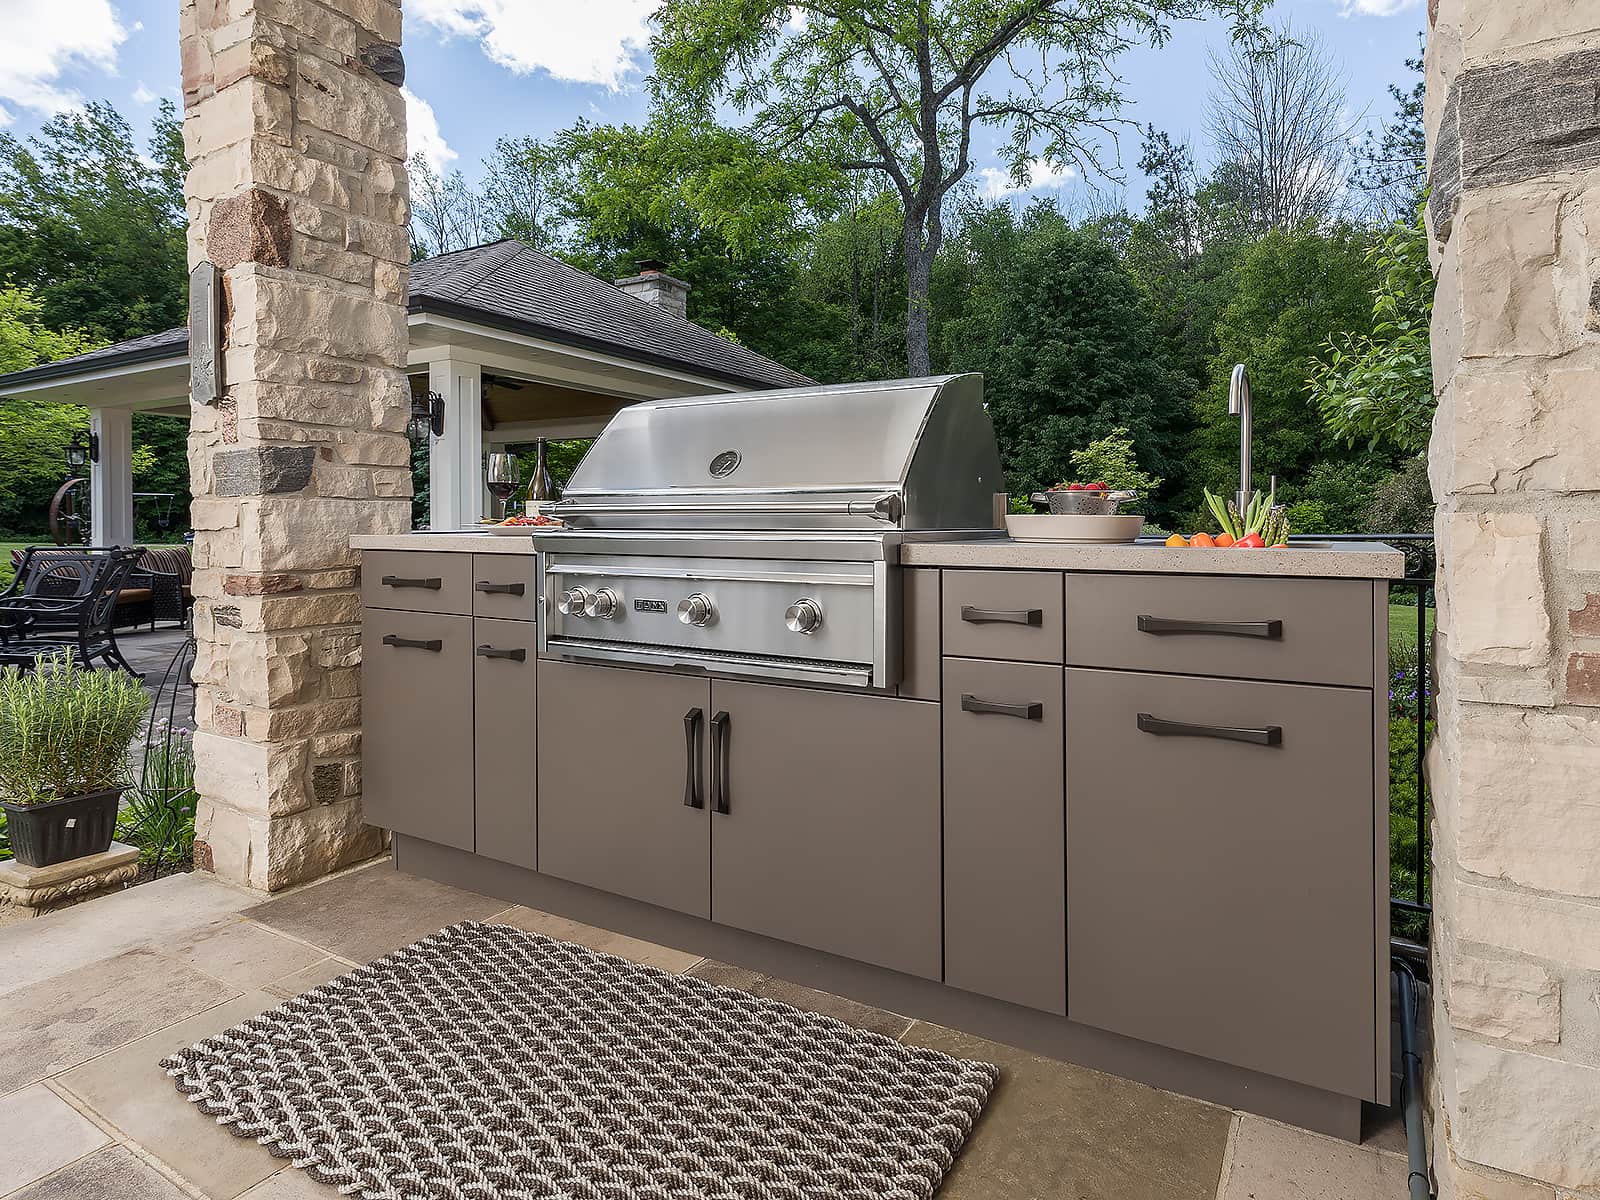
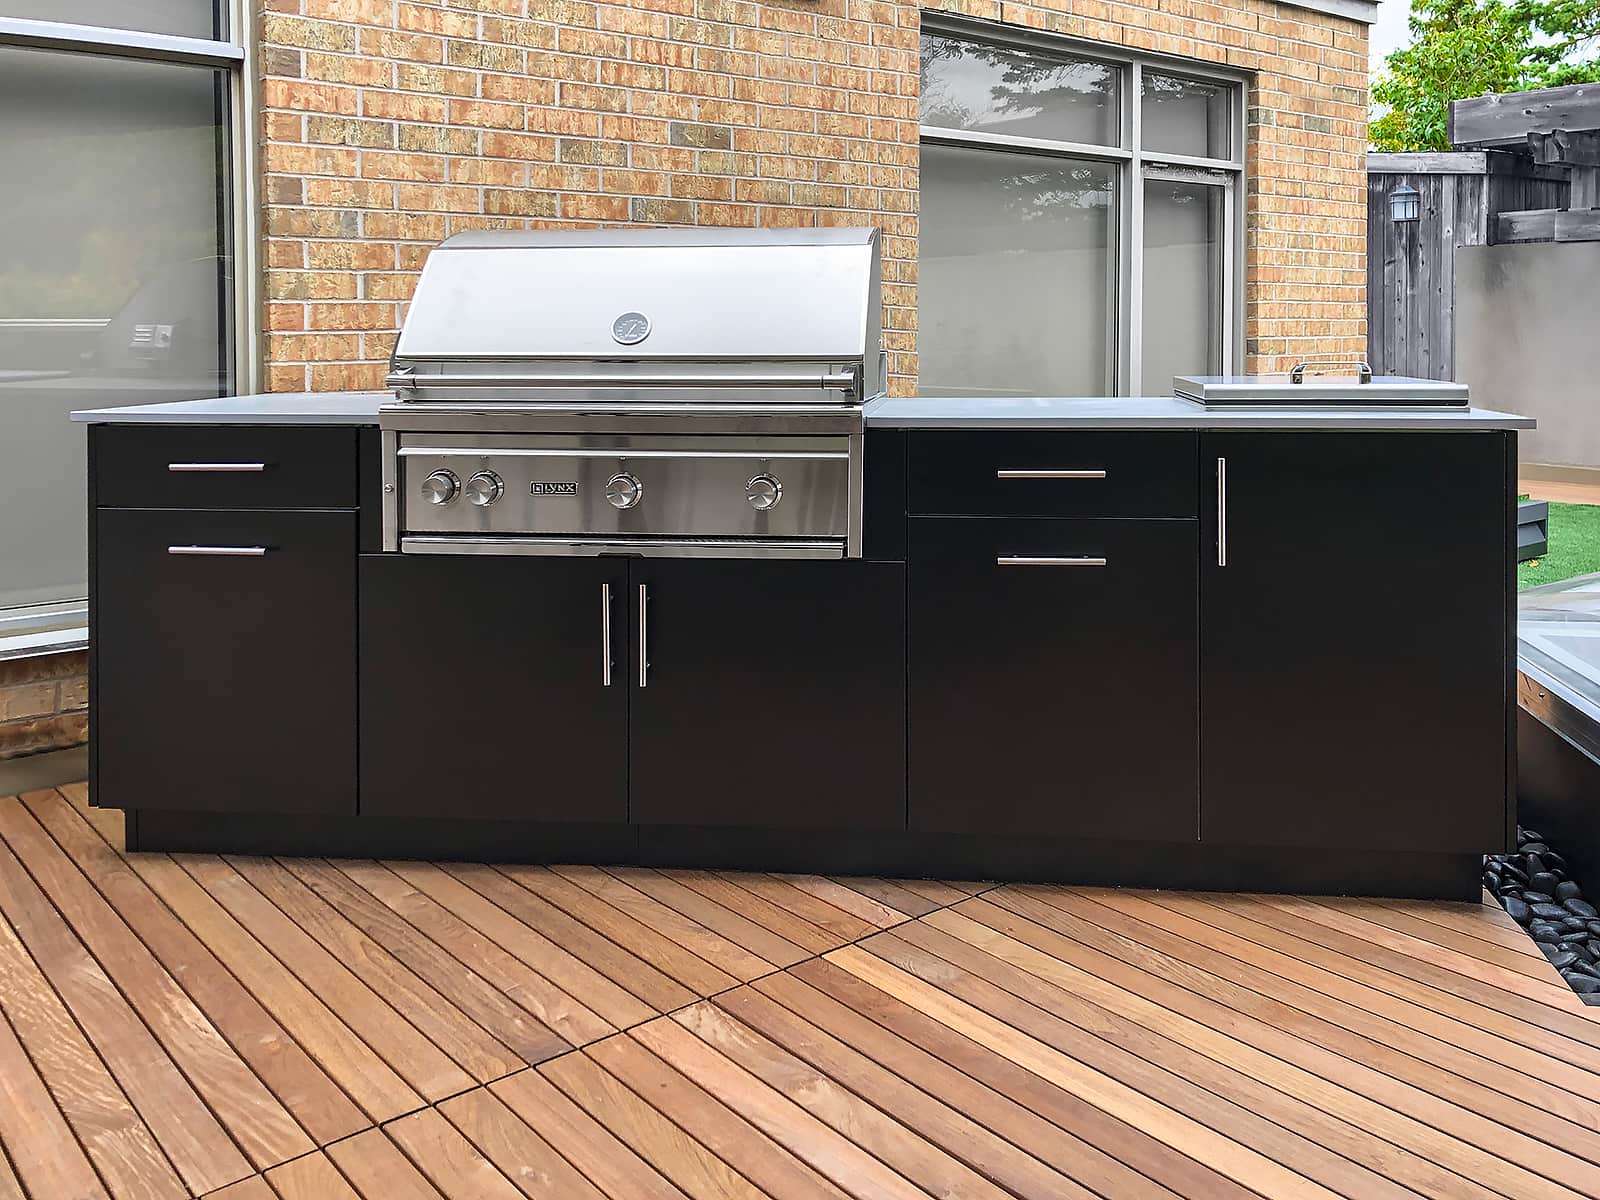
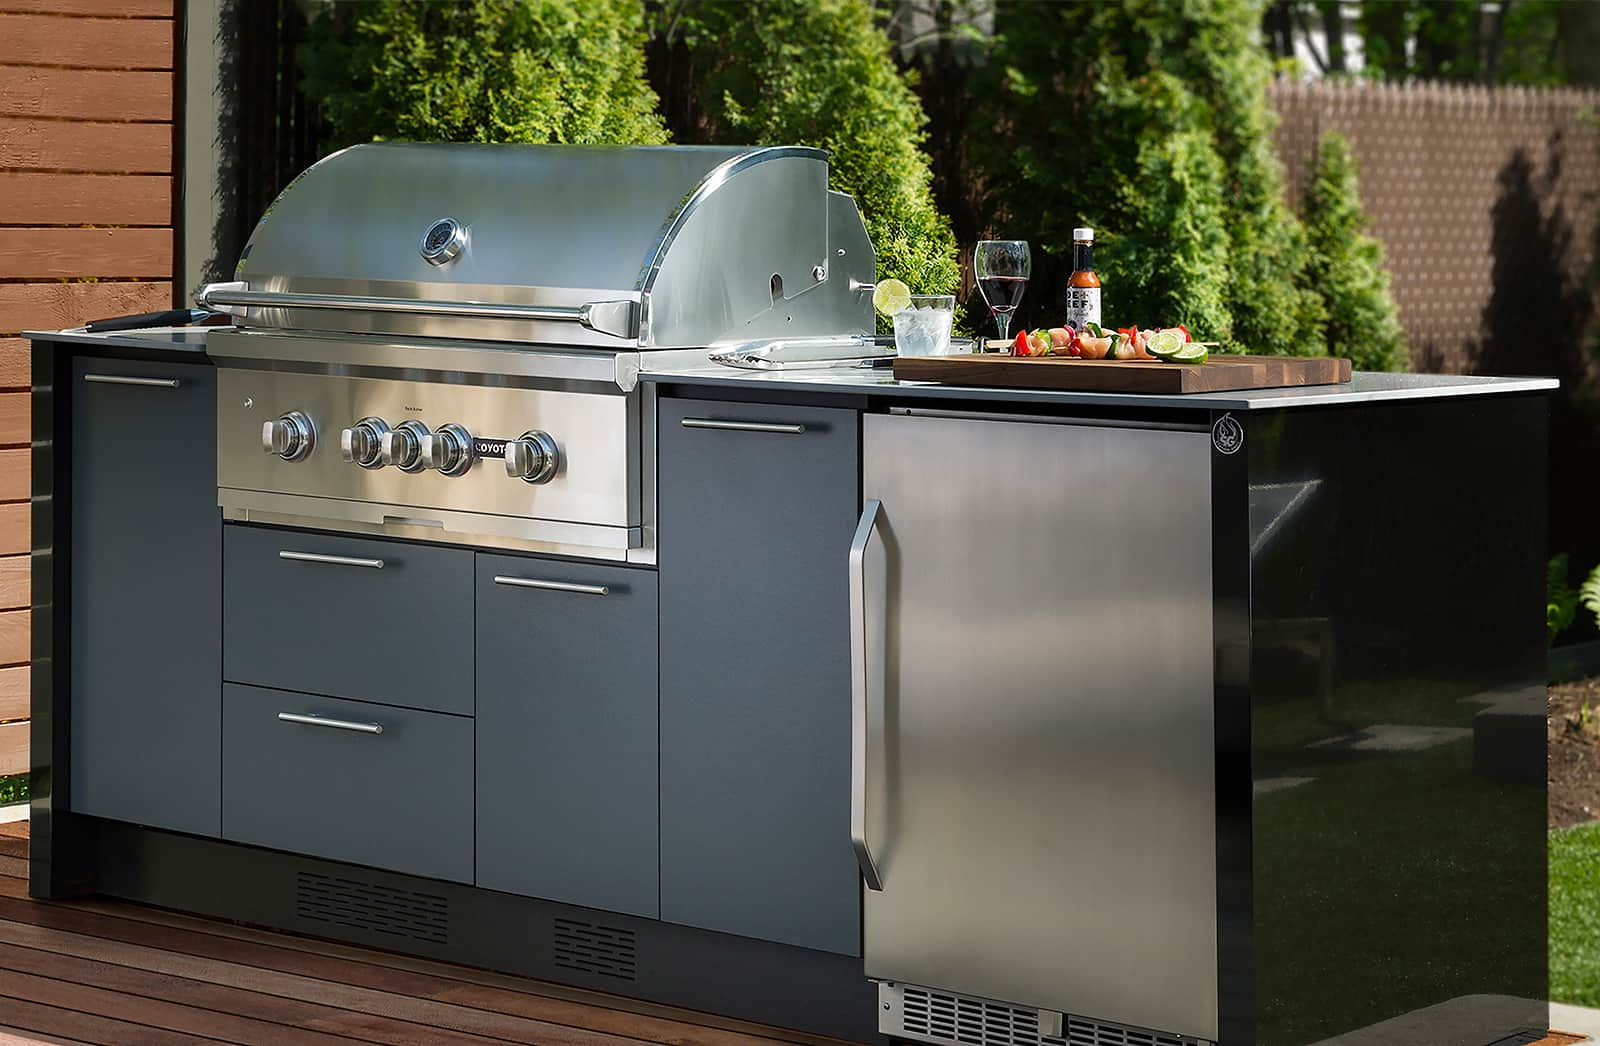
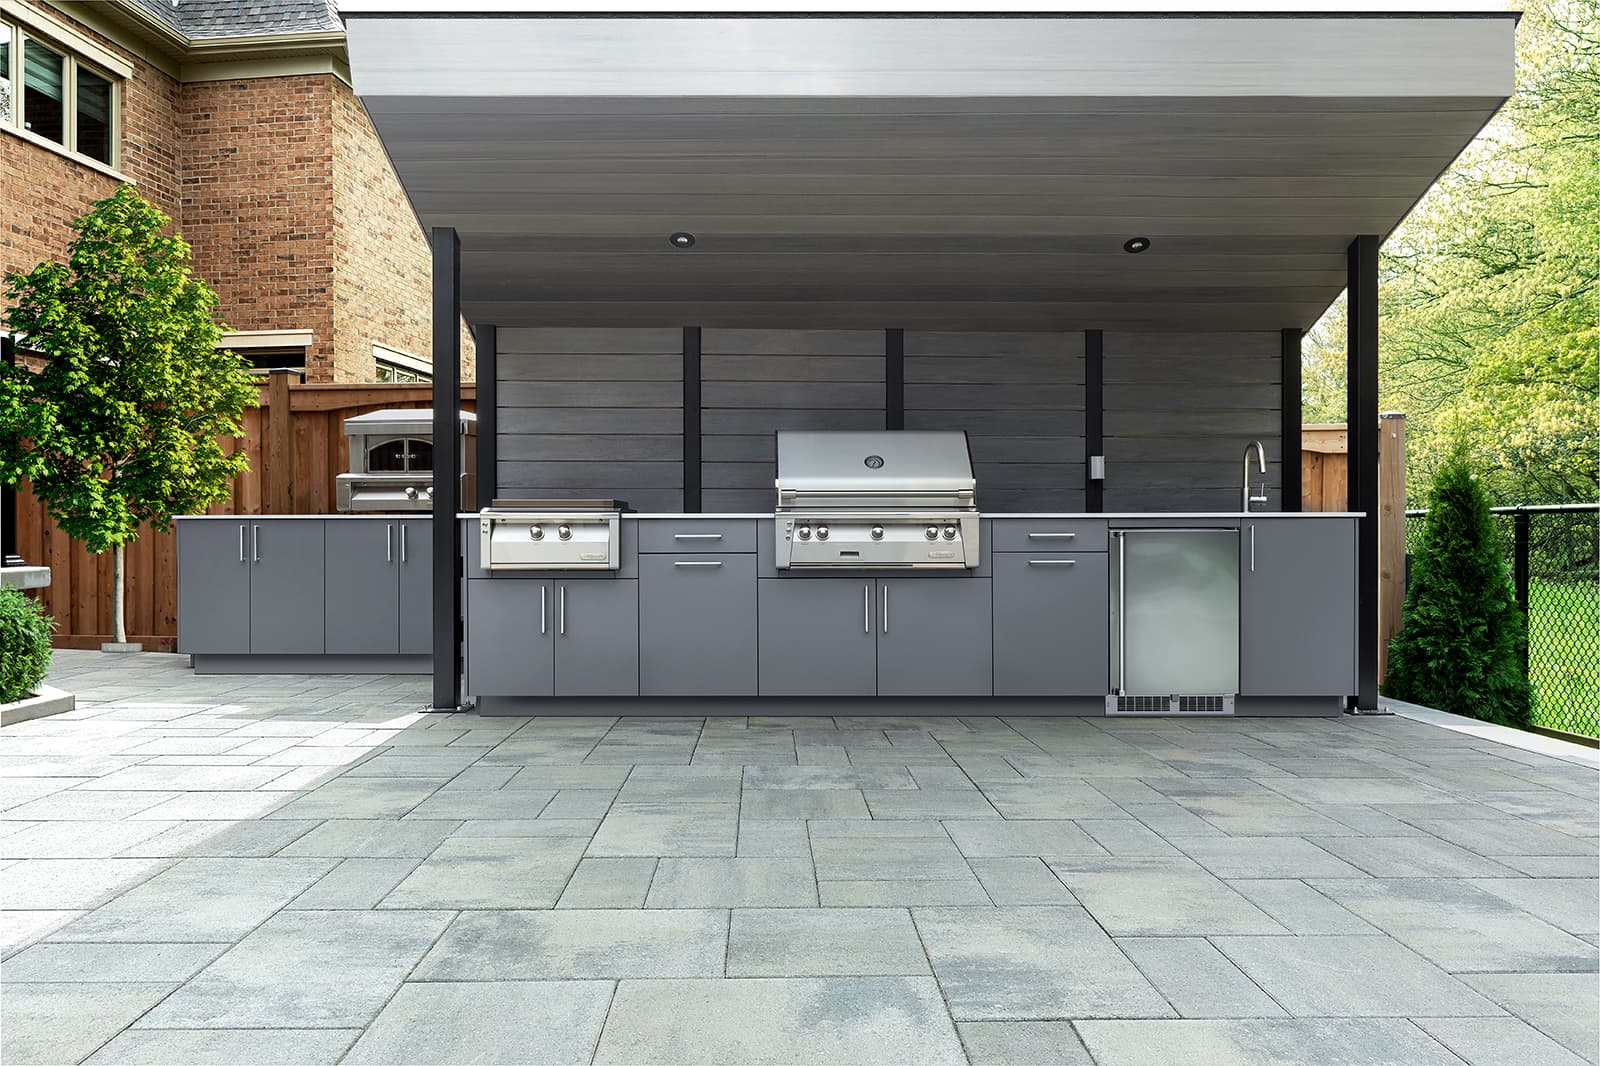
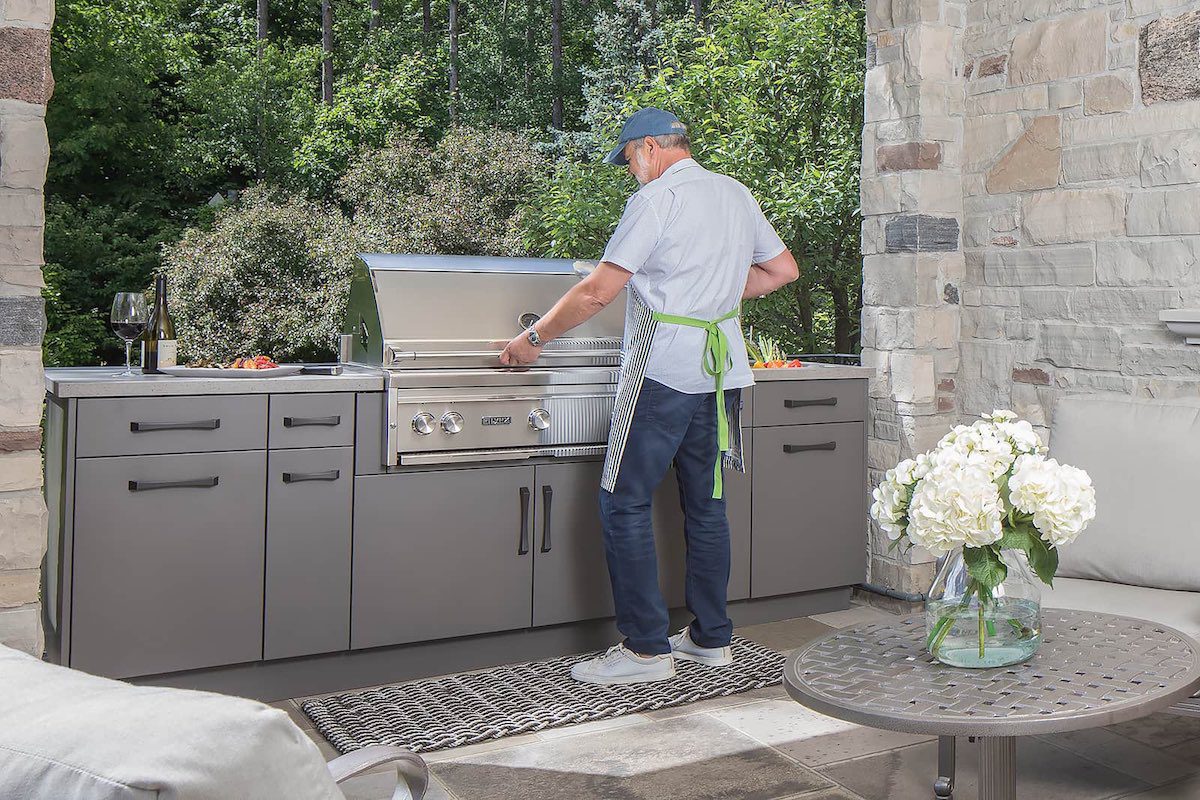
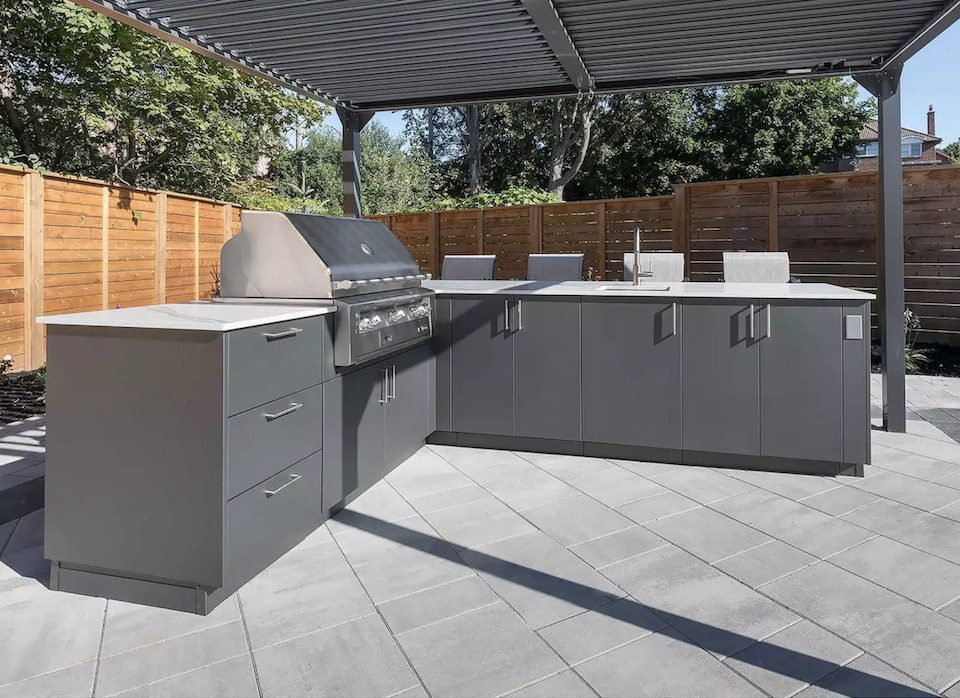
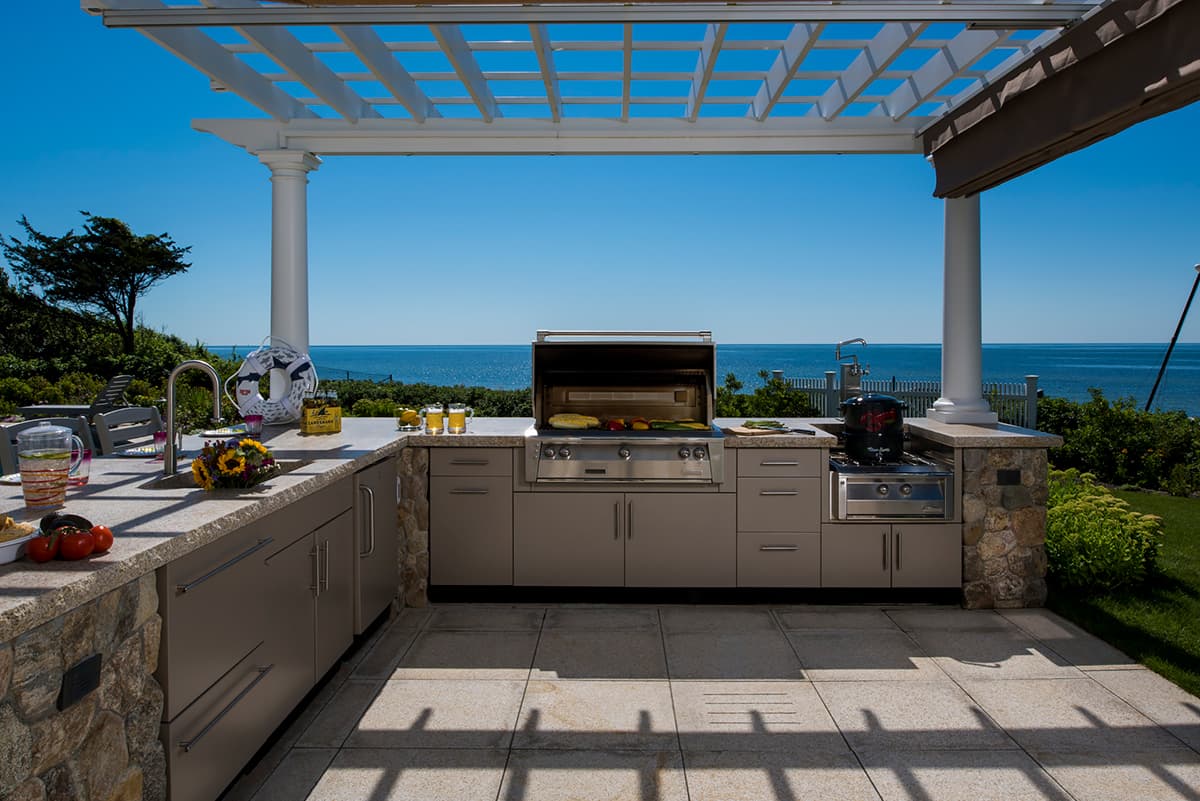
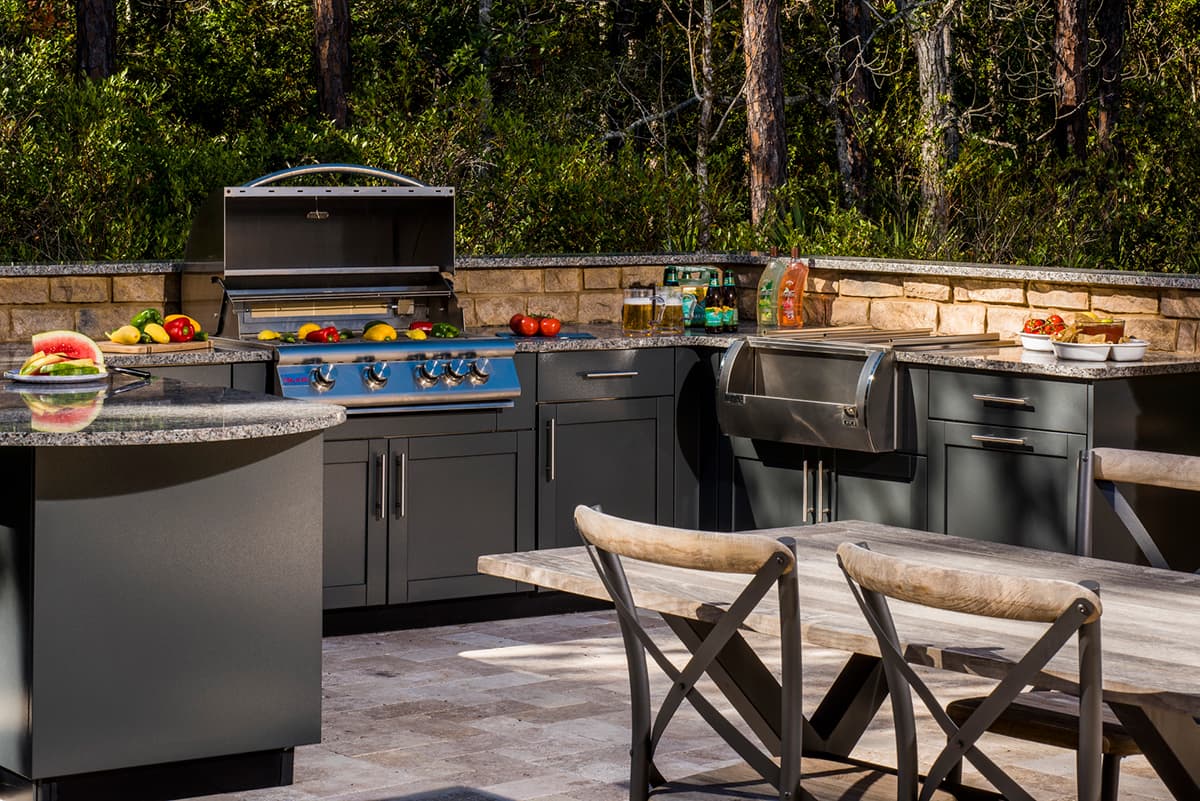
Choose outdoor kitchen materials that are highly durable and low-maintenance.
Which outdoor kitchen trends speak to you?
These are some of the most popular concepts and ideas people are adopting to redefine their home’s outdoor living area.
Which outdoor kitchen trends would you incorporate into your space?
Let’s shape your personalized outdoor kitchen design together. Schedule a free design consultation with Outeriors to get started on creating a kitchen that will transform your backyard space.
Please share this post if you found it useful.




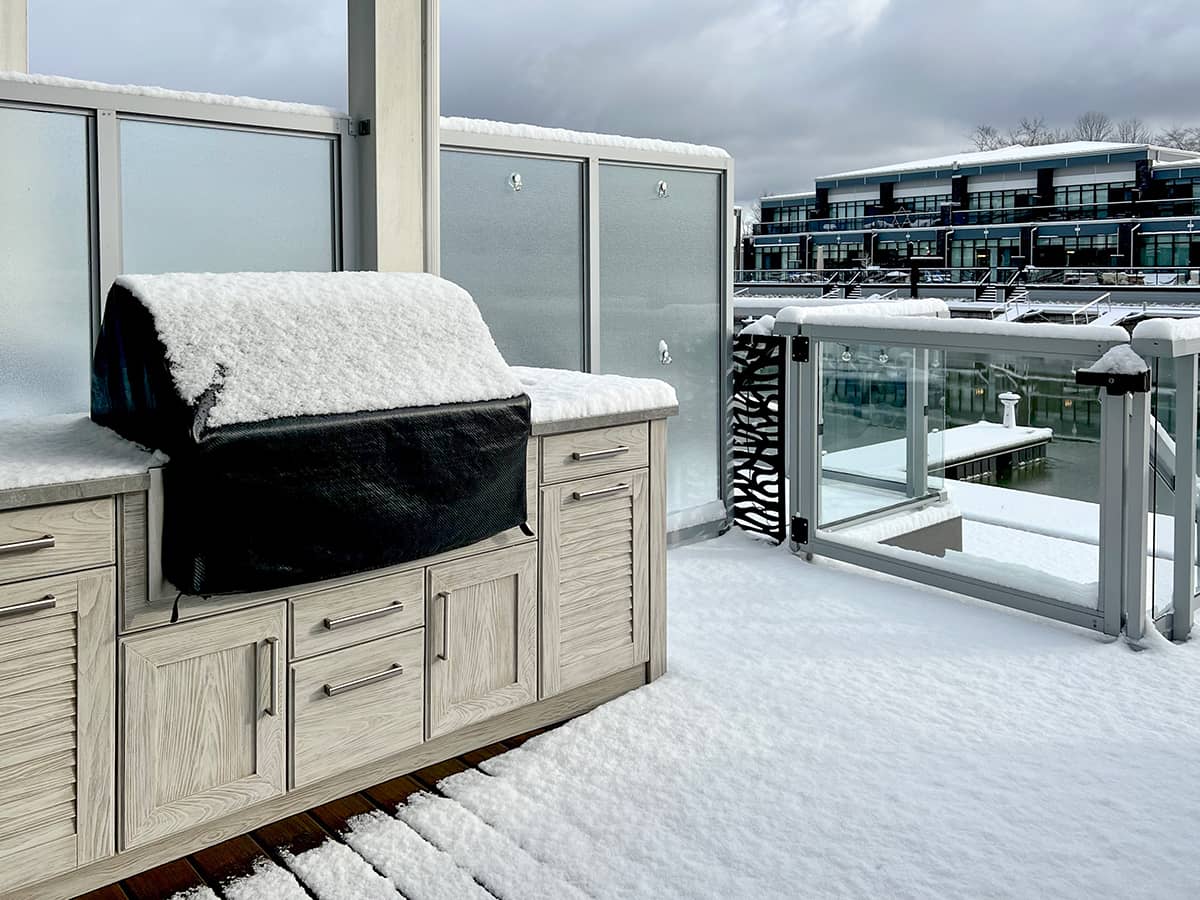
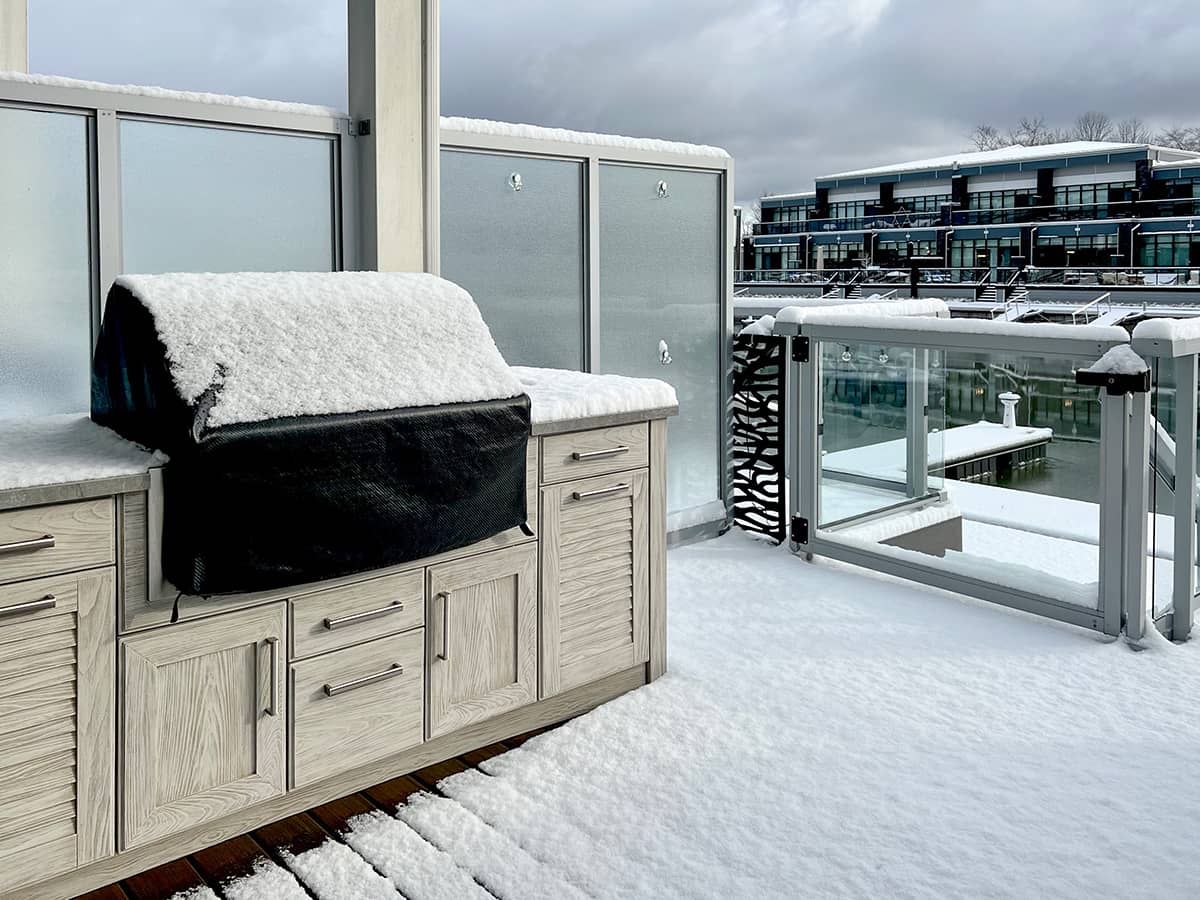
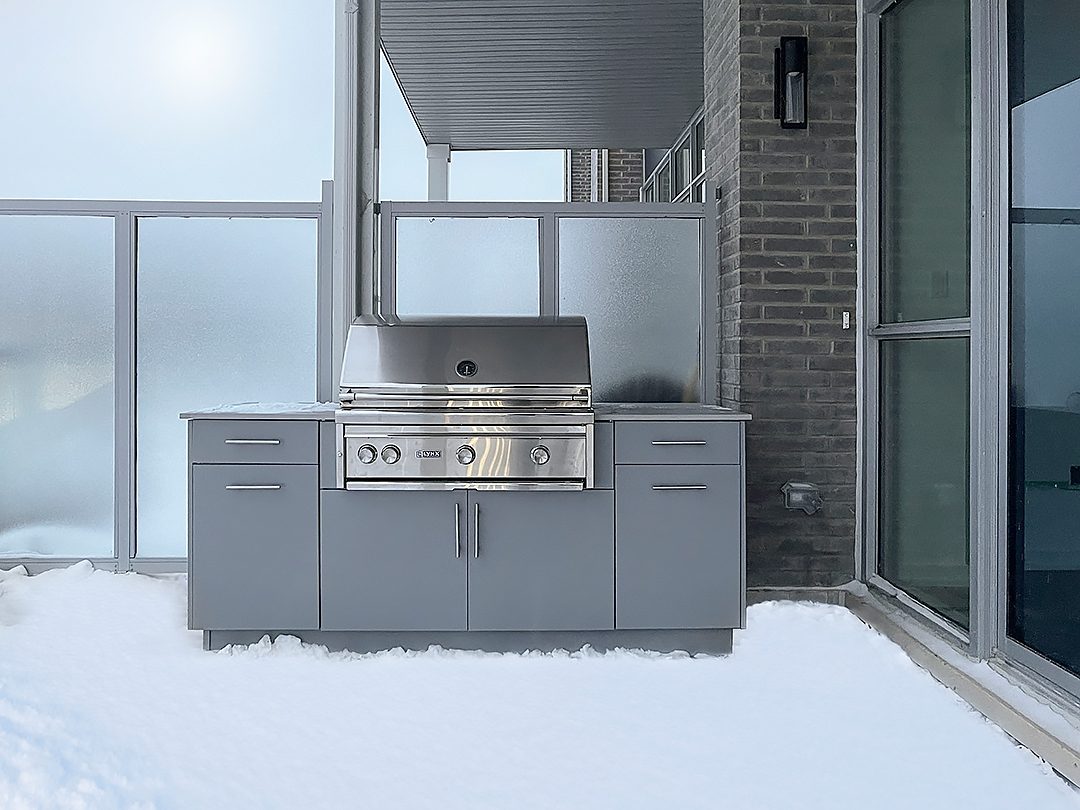

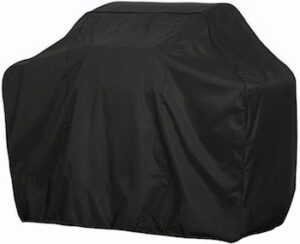 By the time your meal has been eaten, the grill will have cooled off enough to be covered. Spending just a few seconds to cover a grill every time after using it will protect it from corrosion and prolong its life.




 It may seem wise to cover all of your outdoor kitchen appliances for their winter hibernation, but this can do more harm than good in some cases.