We Canadians love our grills. Approximately two-thirds of Canadians own a grill and we use them a lot during the warm weather months.
One survey found that 7% of Canadians cooked all of their meals on a grill during the summer. Another 2019 Research Co. survey found that during the summer, 27% of Ontarians grill outdoors an average of five times per week.
Almost two-thirds of people who own barbecues have a gas grill, which is powered by natural gas or propane. Gas grills are the most popular outdoor cooking appliance because they’re so convenient and easy to use.
To keep the appliance functioning optimally, regular gas grill maintenance is essential.
The benefits of doing gas grill maintenance
Despite how often we use our grills, a surprising number of people do very little or no gas grill maintenance. That Research Co. poll found that while 65% of grillers clean their appliance after every use, 32% of grill owners only clean their barbecue “a few times” during the summer and 3% of grill owners never clean it.
Here are the main benefits of doing regular gas grill maintenance:
- grills will have fewer fire-related safety hazards
- food flavour is enhanced
- cooking performance is more consistent and efficient
- the appliance is more reliable to use
- well-maintained grills last a lot longer
- there’s less risk of food exposure to contaminants and bacteria
Nothing spoils a backyard cookout like being unable to deliver that meal everyone is looking forward to devouring in a timely manner (or even at all) because an unreliable grill hasn’t been maintained.
Use these essential gas grill maintenance tips to keep your grill in top shape.
1. Clean your grill after each use
One of the main reasons some people rarely or never clean their grill is because they believe the built-up gunk from past cooking sessions adds a unique flavour to their food. Grilling experts and scientists disagree, however. Leaving burnt-on food particles, old marinade, and built-up grease on a grill is considered unhealthy. It raises the risk of mould, bacteria, and carcinogens getting into the foods you cook.
The high temperatures grills produce kill a lot of the bacteria that accumulate inside the appliance, but not all of it. A barbecue’s grates should be cleaned after each grilling session, ideally while it’s still warm to make the process easier. If you forgot to clean the grill after its last use, give the grates a cleaning during the pre-heating process of your next cooking session.
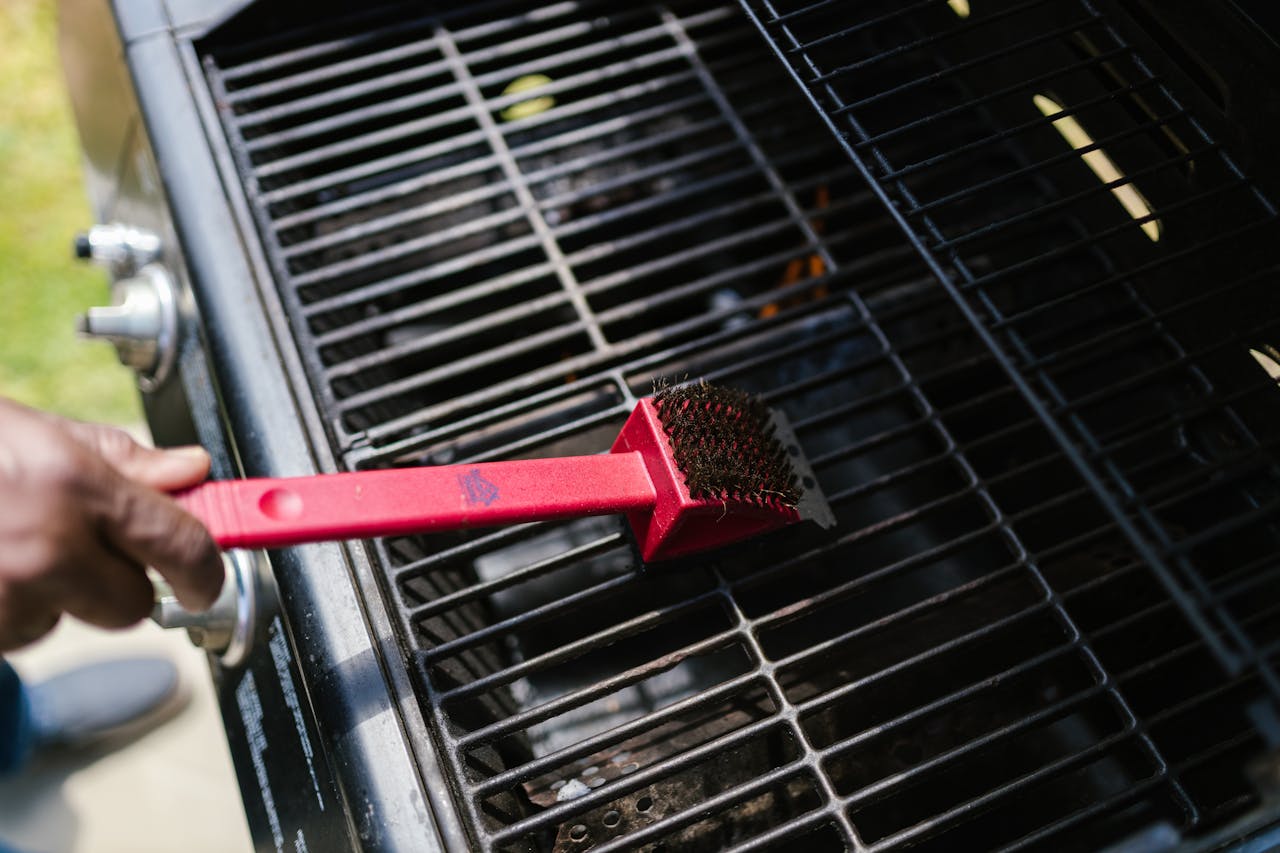
Try to avoid using grill cleaner sprays after every grill session unless a clean-up job is particularly challenging. Even the products that are marketed as being safe are going to contain some chemicals that you should avoid adding to a cooking area. If a grill is cleaned shortly after being used with a high-quality wire brush, scraper, or cleaning brick/stone, that should be more than enough to remove most leftover grease and food residue.
Don’t use cheap wire brushes to clean your grates. Some grilling experts recommend not using any type of wire brush to clean a barbecue because of the safety risks. There have been more reported cases in recent years of tiny wire pieces breaking off cleaning brushes and being ingested by people. A recent CBC story detailed the life-threatening ordeal a B.C. man went through when a single wire bristle from a grill cleaning brush got lodged in his intestine.
2. Check the fuel line and regulator
One of the most serious hazards with grills are gas leaks. Leaks can be easy to recognize if there’s a persistent gassy odour around a grill even when it’s not in use. Interesting fact: both propane and natural gas are odourless in their natural state. The sulphur-like “rotten egg smell” they have actually comes from additives that are included to alert people to leaks.
Don’t wait for your nose to identify a potential gas leak, however. Give the grill’s fuel line/hose that’s connected to your natural gas or propane source a period inspection (at least twice a year).
A leak test is simple to do and doesn’t take much time. The easiest method is to use a leak detector spray that will pinpoint where a hose is leaking. Another method is to create a small mixture consisting of 50% water and 50% liquid dish soap. Apply the mix to the fuel line with a brush or spray bottle and turn the fuel valve on (don’t light the grill). If the soapy mix bubbles up in one or more specific areas, you’ve identified where the leaks are.
If you find a leak, replace the faulty hose with a replacement made by a reputable manufacturer. Patching leaky fuel lines is not recommended. Fuel lines that are cracked or showing signs of wear should also be replaced before any leaks can occur.
The other important part of a grill’s fuel delivery system that should be inspected occasionally is the regulator. This metal part regulates gas pressure and controls the flow of gas to the grill. Make sure it’s tightly connected and in good condition. If a grill can’t reach the kinds of high temperatures it’s previously been able to reach, that may be a sign that the regulator needs to be replaced.
Fuel lines can also experience blockages caused by nesting insects, especially spiders.
3. Inspect and clean the burners
Over time, grease, food particles, and debris can clog a grill’s burners, leading to uneven cooking temperatures. This can cause hot spots and flare-ups that might burn some areas of your food, while leaving others undercooked.
By cleaning the burners, you ensure a consistent and reliable cooking surface with even heat distribution.
Regularly inspect the burners for signs of cracks or blockages. Burners are typically made with cast iron, cast stainless steel, or cast iron, so keep an eye out for signs of rust or corrosion.
Grills that are used an average amount should have their burners cleaned about once a month. This task can be a tad messy and involves a little more work to remove a grill’s parts to get access to the burners to clean them, but it’s an essential part of gas grill maintenance. A wire brush is the main tool used for the job.
While cleaning, look for insect blockages that can impede the flow of fuel to the burners. The venturi tubes, which deliver gas and air to the burners that create flames, are a part of the burner system that critters like to nest in.
4. Inspect and maintain the ignition system
A functioning, reliable ignition system is essential for hassle-free grilling. Gas grills have one of the following types of ignition systems that create an electrical spark that ignites the fuel in a grill’s collector box:
- battery-powered: this is one of the most common types of ignition systems and is powered by a 9V, AA, or AAA battery
- piezo: force is applied with a small part like a spring-loaded hammer to a crystal to generate a spark
- electric-powered: this newer type of ignition module runs on electricity and is commonly found in high-end grills
Fixing an issue with one of these types of ignition systems could be relatively simple and involve replacing a dead or weak battery, removing grease and debris that is impeding spark generation, or reconnecting a loose wire.
For more serious issues that require the replacement of wires, electrodes, or other essential components, you may be better off just replacing the whole ignition system.
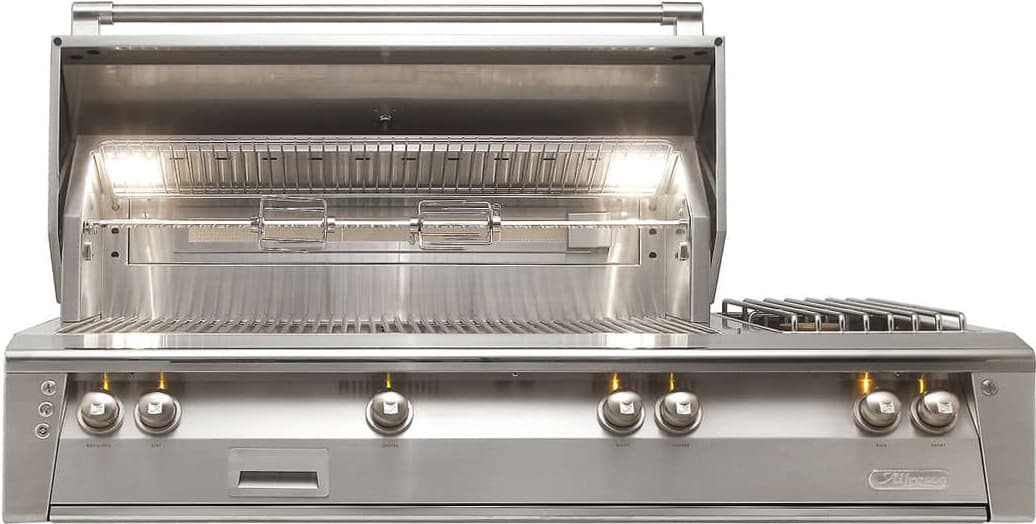
Luxury grills like this Alfresco model have their ignition control knob conveniently located on the front panel.
5. Regularly check and empty the drip tray
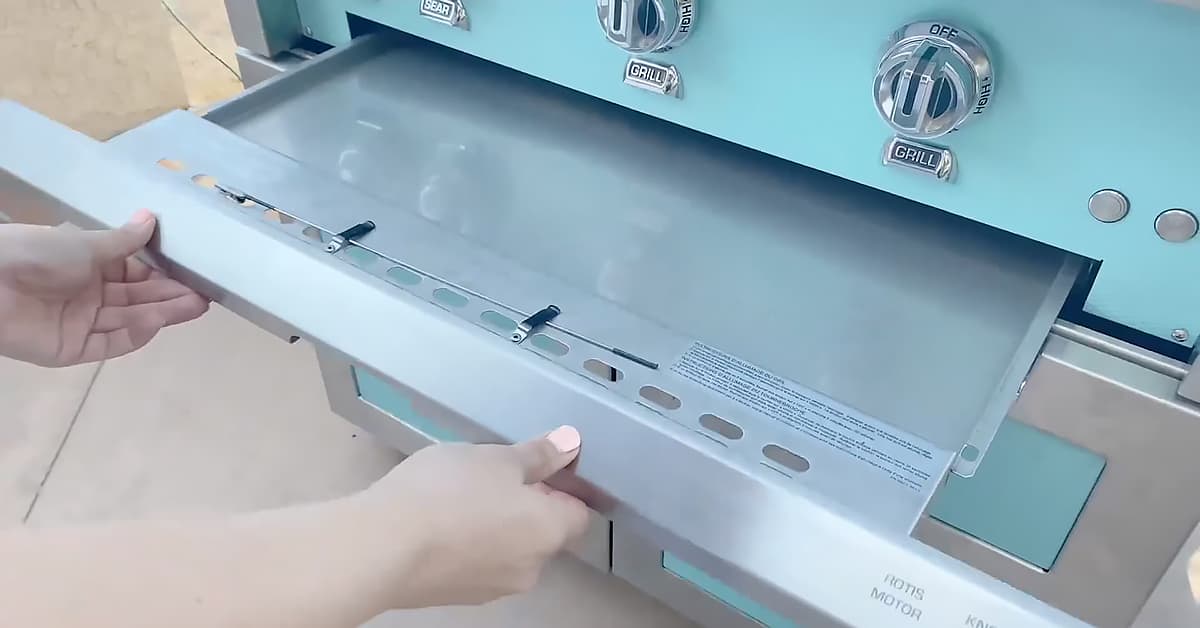
Another essential gas grill maintenance task is to regularly check and empty the drip tray or pan that collects grease and food particles. This part of a grill helps maintain the appliance’s cleanliness and prevents flare-ups.
Most grills use disposable aluminum drip trays and pans. If you prefer a more eco-friendly option, some barbecue models can accommodate reusable drip trays. Just like when you cook indoors, accumulated grease shouldn’t be disposed of down the drain.
How often should you empty a drip tray? That depends on a couple of things, including how big the pan/tray is and how often your grill is used. Emptying a drip tray/pan every 4-8 uses of a grill is generally recommended.
6. Inspect the grill’s structure
As part of your gas grill maintenance checklist, do a once-a-year inspection of the appliance’s structure. The lid and main lower part of the grill (known as the firebox), should be sturdy and intact.
One of the main things to look for is any sign of rust and corrosion, which is a common problem with cheap grills. Minor rust spots can be fixed with a rust remover and painted over with grill-safe spray paint. Grills with a lot of rust on them are better off being replaced. A rusty grill’s unappealing appearance isn’t just an appetite-killer, using them also increases the risk of food contamination.
High-quality grills use more long-lasting materials like 304 stainless steel. Grills that are made with thicker gauge high-grade stainless steel are much more rust-resistant and retain heat better.
Premium grills also use the welding process more in their construction, which is more durable compared to the bolt and screw method used to construct lower-quality barbecues. Regardless of your grill’s quality, look for any cracks or splits in the firebox.
You’ll likely notice if there are any issues with the other parts of the grill when you use them, including the lid, cabinet doors, base and shelf platforms, wheels, and side table. Ensure all bolts, screws, and fasteners are tight and secure. Loose parts can affect the grill’s stability and performance.
7. Protect your grill from the elements
Barbecues may be built for outdoor use, but any grill will last longer if it’s kept covered, even if your outdoor kitchen has a roof over it.
A grill cover protects the appliance from rain, snow, and UV rays. Grills that have less exposure to the elements tend to function more reliably and require less maintenance. Covering a grill also prevents critters like birds, mice, and squirrels from using the appliance as a home.
Make a habit of covering your grill as soon as it’s cooled down enough. It’s not uncommon to forget to put on the grill cover after cooking. Grills that range in quality from average to high shouldn’t have any issues if this happens on occasion, even if they get directly rained on. Cheap grills won’t fare as well in these situations, however.
If you’re not a winter griller and don’t own a built-in grill, it’s wise to move your grill to a shed or the garage for off-season storage for some extra protection.
Should you need to replace your grill’s cover, try to get a replacement made by the grill’s manufacturer for your specific model. Avoid cheap grill covers, which don’t breathe as well as higher-quality covers. This can trap moisture and accelerate how quickly the grill starts to rust.
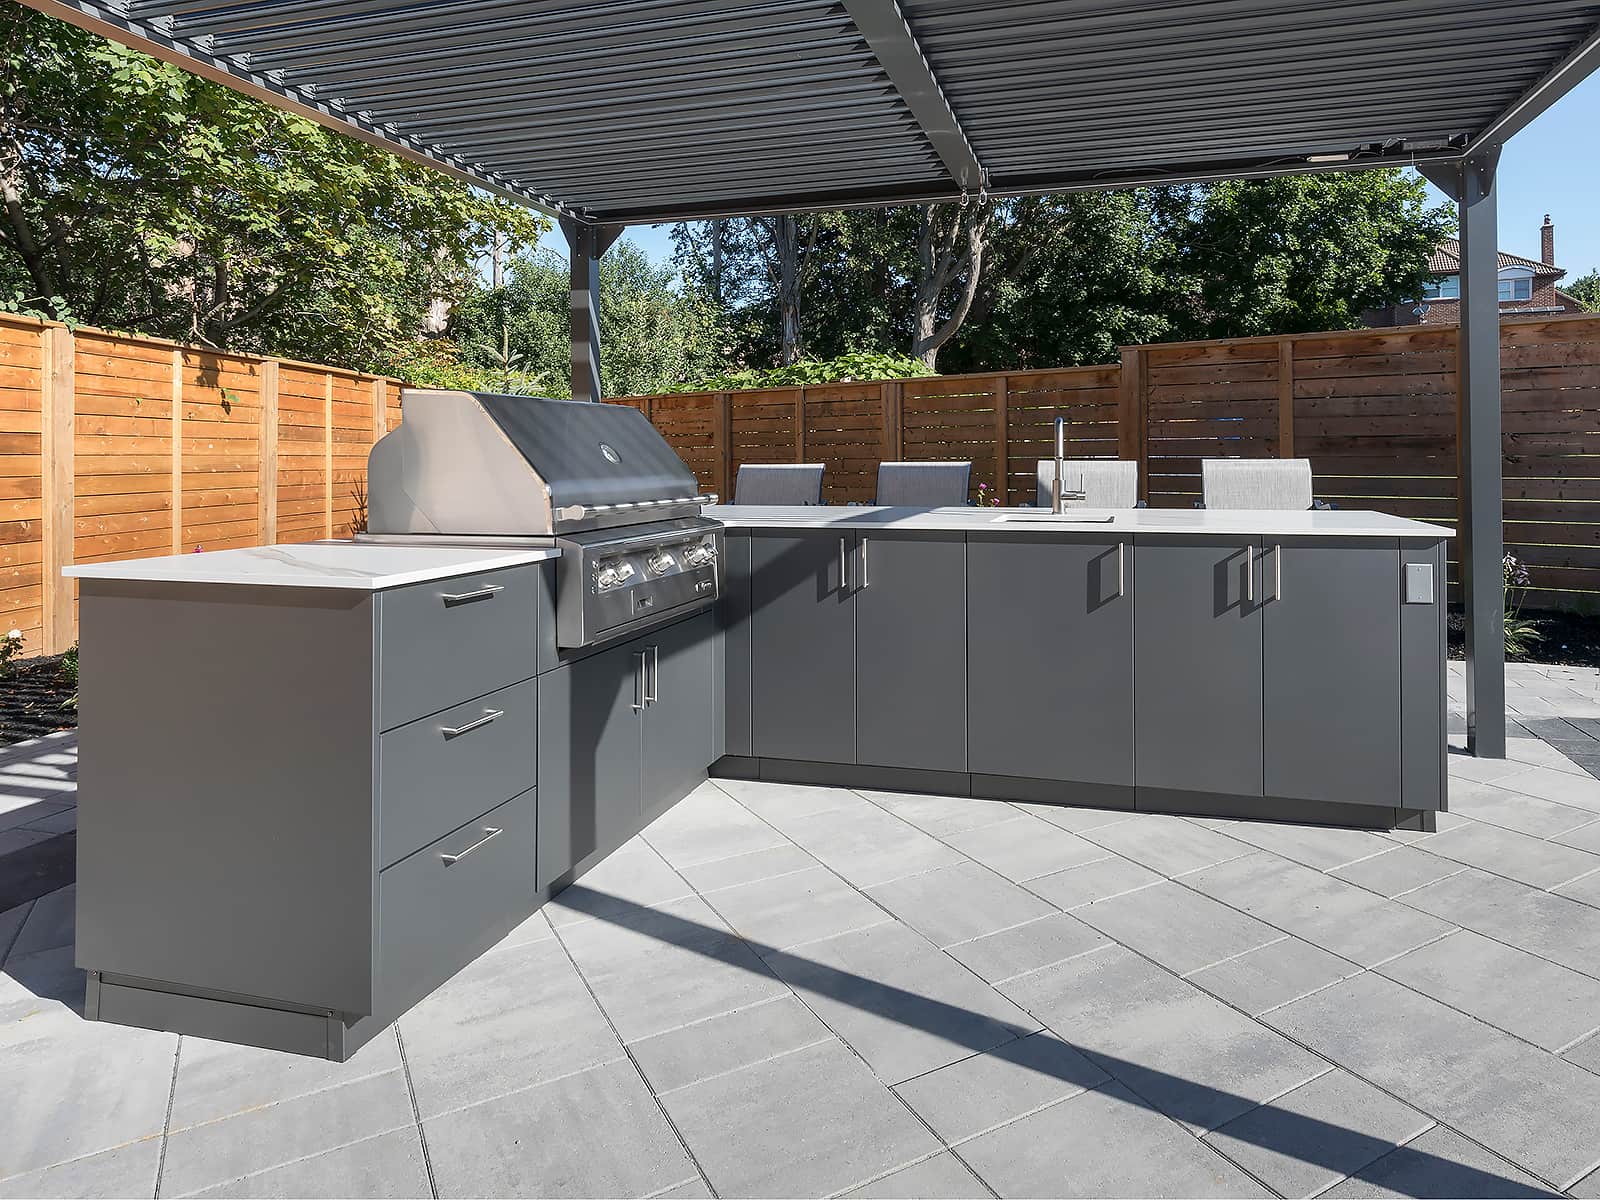
An adjustable pergola is practical and helps protect your outdoor kitchen investment.
8. Season your grill grates
The process of seasoning your grill grates is very simple and helps elevate your grilling experience.
It involves applying a thin layer of oil to the grates and heating them at around 400-450° F for 20-30 minutes to allow the oil to bond with the metal. Because you’re using a lot of heat, a high-heat oil must be used like canola, vegetable, sunflower, or peanut oil.
Grate seasoning has several benefits:
- it creates a non-stick surface that makes cooking easier
- heat is more evenly distributed on the cooking surface
- the flavour of food will improve over time
- cleaning the grates becomes easier
- it adds a protective layer that extends the life of your grates
If you find that food still sticks to your grates even after they’ve been seasoned, it could be because they’re low-quality grates. Food will stick to the grates more if a grill hasn’t been preheated for long enough as well.
9. Maintain proper ventilation
Built-in grills that are incorporated into outdoor kitchen cabinetry or an island need vent panels to prevent gas from building up while you’re cooking.
Ensure that any vents are clear and unobstructed. In addition to this safety hazard, blocked vents can also cause grills to function less efficiently.
Grill vent hoods are a great investment, especially if you have a more enclosed outdoor kitchen design. Here’s why:
- they extract grill smoke from your cooking area efficiently
- the grill area will get a lot less grease build-up
- food smells are removed from the kitchen quicker
- kitchen surfaces require less cleaning because there’s less smoke stain and residue build-up
- cooking heat exits the kitchen faster (which you’ll appreciate on hot days)
10. Give your grill a deep cleaning
Doing all or most of the above maintenance tasks will make your gas grill easier to use, but that’s still not quite enough. Gas grills need a deep cleaning at least twice a year, ideally in the spring and fall. If you grill often during the spring and summer, a monthly deep cleaning between May and September is advisable.
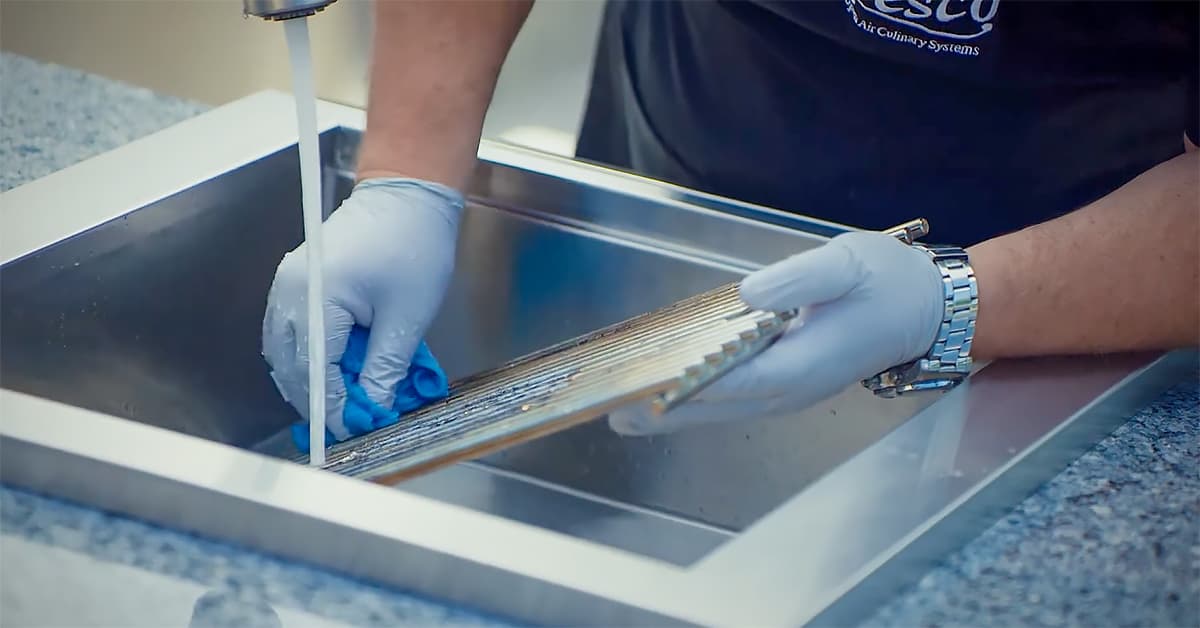
Disassemble and clean as many grill parts as possible, including the grates, burners, flavourizer bars, rotisserie rod, heat plate shield/deflector, and warming rack. Wipe down the removed parts with a paper towel or rag to remove heavy grease and debris. Then let them soak in some soapy water for 45-60 minutes before giving them a thorough scrub (check to see if your burners can be cleaned this way).
With most of the grill parts removed, it will be much easier to clean the appliance’s interior. Wipe down the lid and firebox to remove as much grease and debris as you can before giving it a scrub with a brush and some soapy water. Let the interior dry before reassembling the removed parts.
Once the interior grill of the grill has been cleaned, focus on its exterior to remove grease, smudges, liquid stains, and heat stains. Once again, use soapy water and a sponge or microfibre cloth to prevent scratching. Avoid using abrasive cleaners that could damage the grill’s finish. Apply a stainless steel polish to make the grill’s exterior shine.
Use a grill cleaning spray or degreaser to help with particularly stubborn cleaning jobs. Soap residue and chemical residue from any cleaning products you used can be burned off by operating the grill at a high heat for about 20 minutes before cooking on it again.
If you don’t have the time, patience, or comfort level to do your own grill cleaning, there are plenty of grill cleaning and maintenance companies in the GTA you can hire.

A good deep cleaning at least twice a year helps keep a grill looking like new.
11. Keep a spare propane tank handy
If you power your grill with propane, having a spare propane tank is smart and practical. Running out of propane in the middle of an outdoor cooking session is frustrating and disruptive, leaving your guests waiting and your food half-cooked.
By keeping a spare tank on hand, you can seamlessly switch out the empty one and continue grilling without interruption. A spare propane tank provides the peace of mind that you’ll always be prepared for impromptu barbecues or extended grilling sessions. This “safety net” is especially useful during busy holiday seasons or when you host large gatherings, where having a consistent fuel supply is critical.
Being proactive with your fuel management lets you avoid the stress of rushing out to refill or exchange an empty tank during busy periods, which also takes up more of your time. This task can be done at your convenience to ensure your grilling experiences are smooth and enjoyable.
It also helps to keep tabs on the propane level of the tank you’re using with a monitor. There are lots of cheap, unreliable propane level monitor products out there, so spend a little more to get a gauge that’s reliable and durable.
Is it time for a new gas grill?
A quality grill should last anywhere from 7-15 years with proper care and maintenance. Here are some signs that it’s probably time to buy a new grill:
- food isn’t being cooked evenly
- the grill is hard to light
- flare-ups occur frequently
- it’s rusting and parts regularly need to be retightened
- the barbecue takes longer to heat up and doesn’t retain heat well
- you’re replacing parts or making repairs too often
Even if your grill still works, you might want to upgrade to a higher-quality model that’s more reliable and offers modern features like smart technology, under-lid lighting, LED backlit control knobs, lift-assist lids, and stylish finishes.
Premium grills are worth the investment and are one of the most essential elements that go into transforming backyards into luxurious outdoor kitchens. If you enjoy what a luxury range adds to your home, a high-end grill will do the same for your outdoor space. As Outeriors president Daniel Albo recently told the National Post, “Any luxury feature that can go into an indoor kitchen can go outdoors.”

Luxury gas grills are a surefire way to elevate anyone’s outdoor cooking experience.
Get the most out of your gas grill
By following these gas grill maintenance tips, you can ensure that this hard-working appliance rewards your family with years of reliable service and plenty of delicious meals.
If you’re looking to upgrade your grill or are planning to add an outdoor kitchen, look no further than Outeriors. We carry the highest-quality gas grills and are outdoor kitchen design specialists.
Start planning your custom-designed outdoor kitchen by scheduling a free consultation with one of our seasoned design consultants.
Please share this post if you found it useful.